How to Make a Rope Plant Hanger (in 5 Easy Steps).

You don’t need to be an expert to make a simple, sturdy plant hanger.
This is one of the easiest designs you can try - using just a few basic knots repeated throughout, so you can get something made quickly without overthinking it.
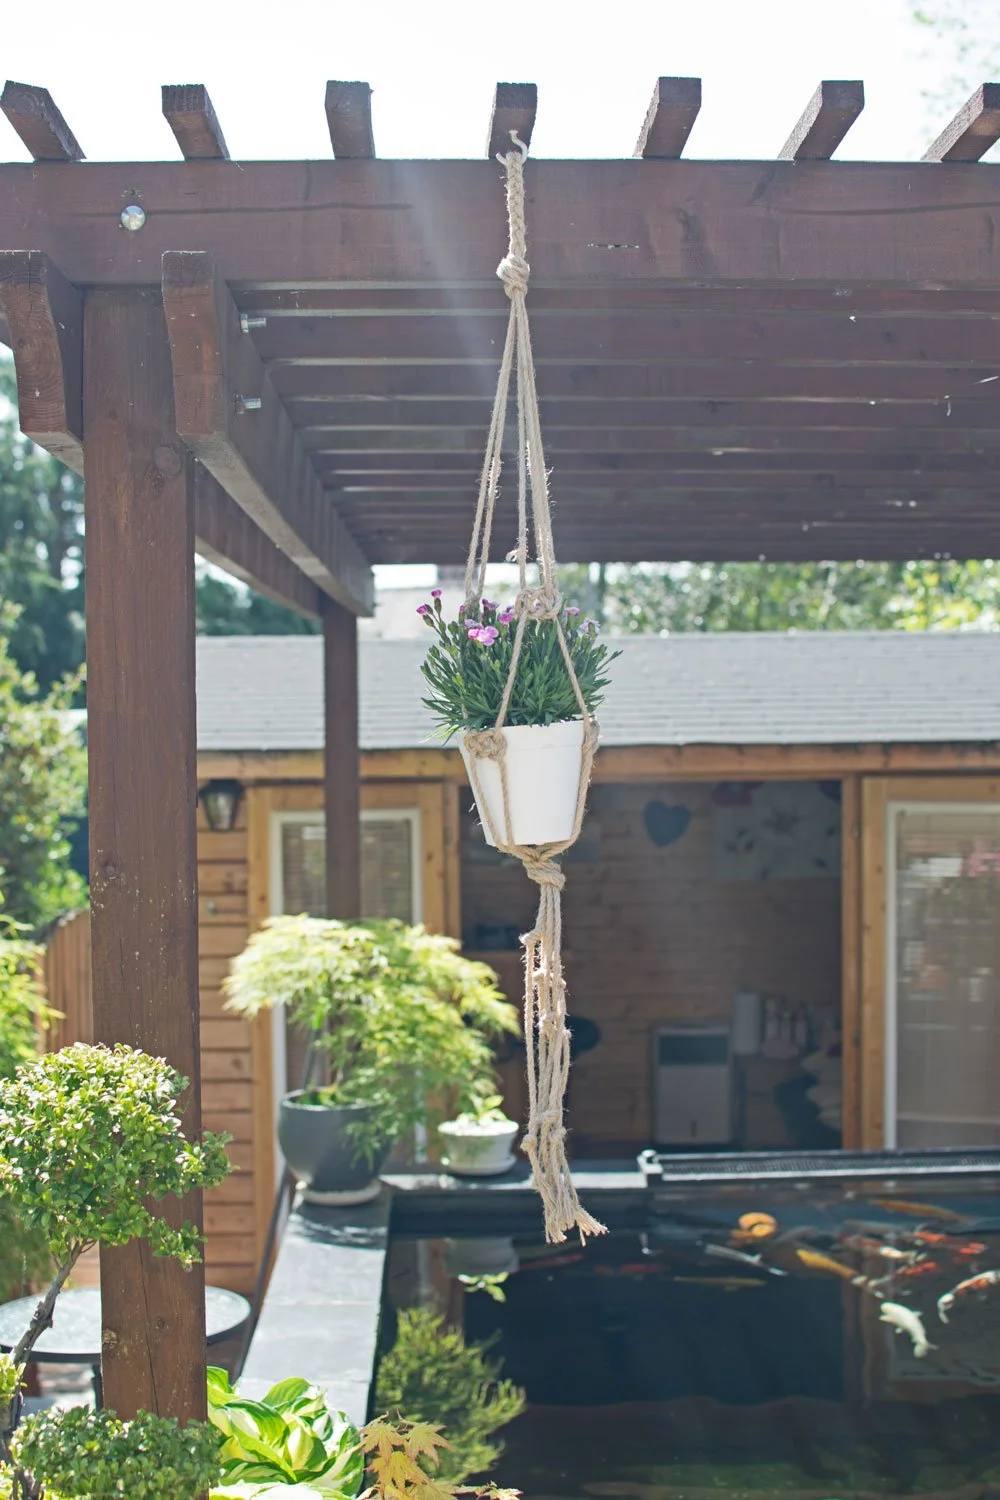
It’s made with jute twine, which means it works just as well indoors as it does outside in the garden.
Once you’ve made one, you can easily adjust the size or start experimenting with different styles, but this is the perfect place to start.
I’ll take you through the 5 simple steps to make your own. First, let’s look at what you’ll need.
What do you need?
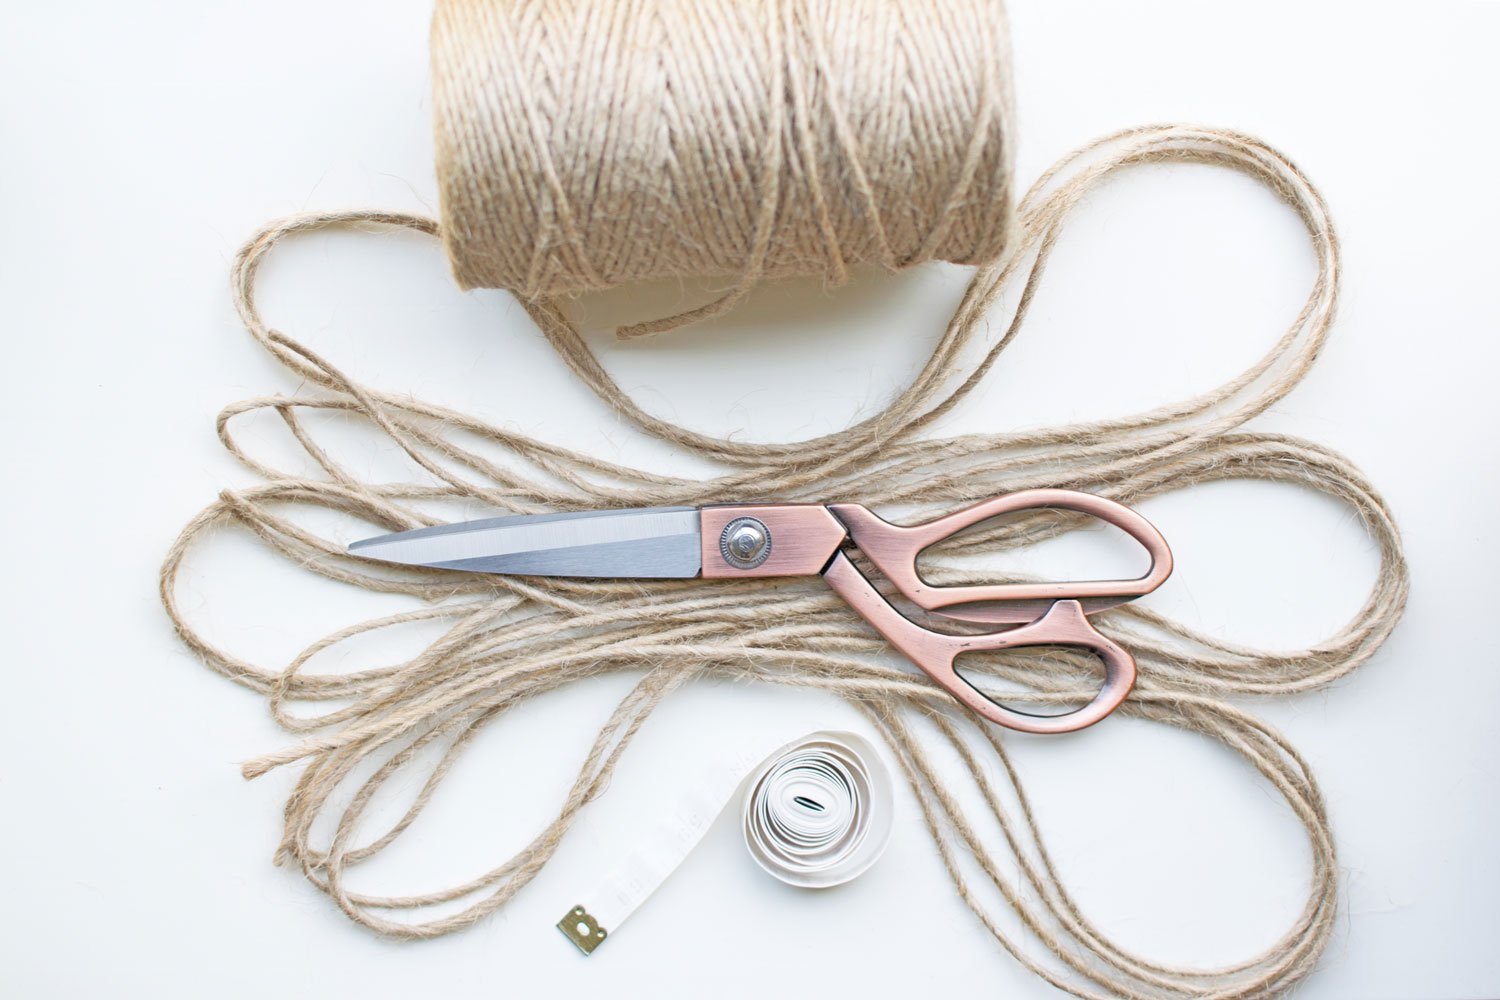
Jute Twine
I’ve used 3mm jute for this tutorial, but you can use whatever thickness you have to hand.
Thicker cord works best for larger or heavier pots, while thinner string (around 1mm) is perfect for smaller, lighter plants.
I like using jute because it’s affordable, fast-drying, and works well both indoors and outdoors, but cotton cord will work just as well if that’s what you have.
Fabric Scissors
Fabric scissors make it easier to cut thicker cord cleanly, but any sharp scissors will do.
Top tip: If your scissors are a little blunt, try cutting through a piece of foil a few times - it helps sharpen the blades.
Measuring Tape
You’ll just need something to measure your cord lengths. A tape measure works best, but anything similar will do.
If you’re adjusting the size of your plant hanger, working out your cord lengths first will make things much easier, especially if you want it to fit a specific space or pot size.
Step 1 - Measure and cut
Measure out and cut 3 x 3m lengths of jute twine, so you have 3 equal pieces to work with.
Want to adjust the size of your plant hanger?
I use a simple cord calculator to work out my lengths before I start as it takes the guesswork out completely.
Step 2 - Form the handle
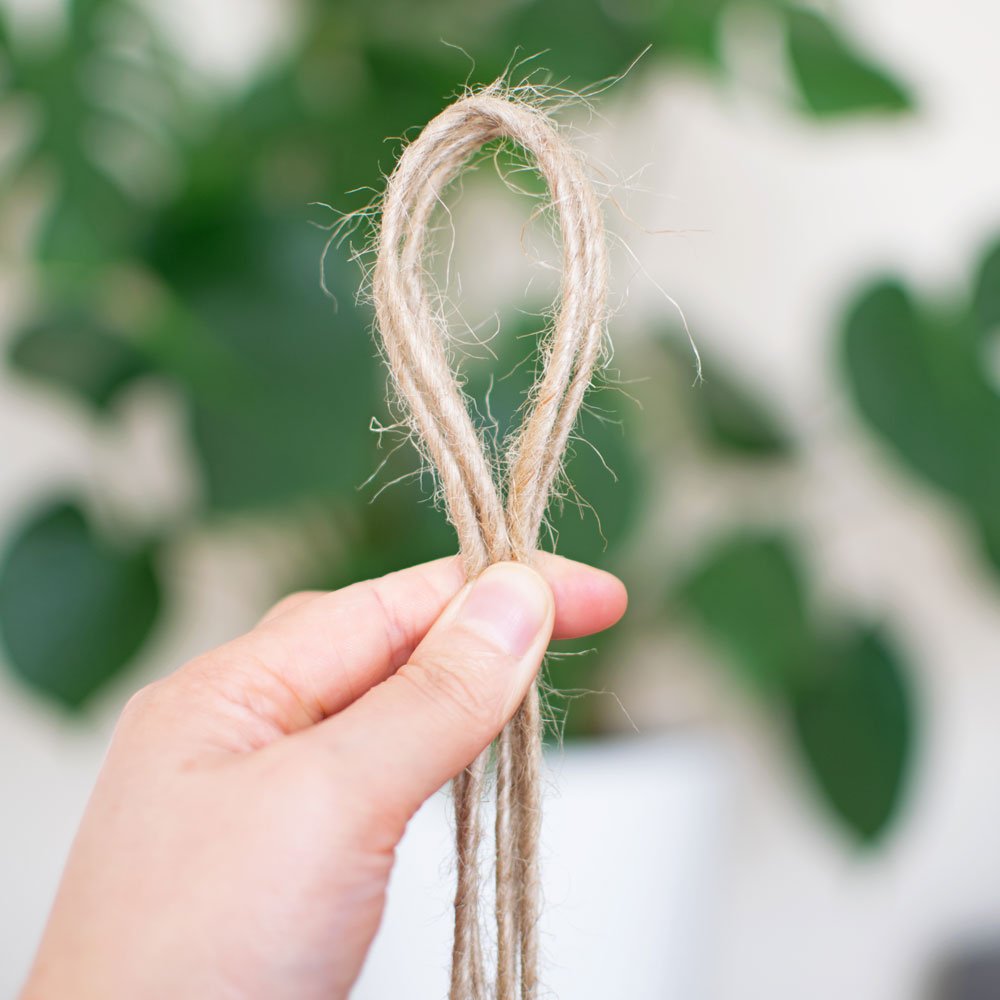
Fold all 3 lengths in half to find the centre.
Hold the cords together about 10cm down from the fold — this will form the size of your handle. It doesn’t need to be exact, so feel free to adjust depending on how big you’d like it.
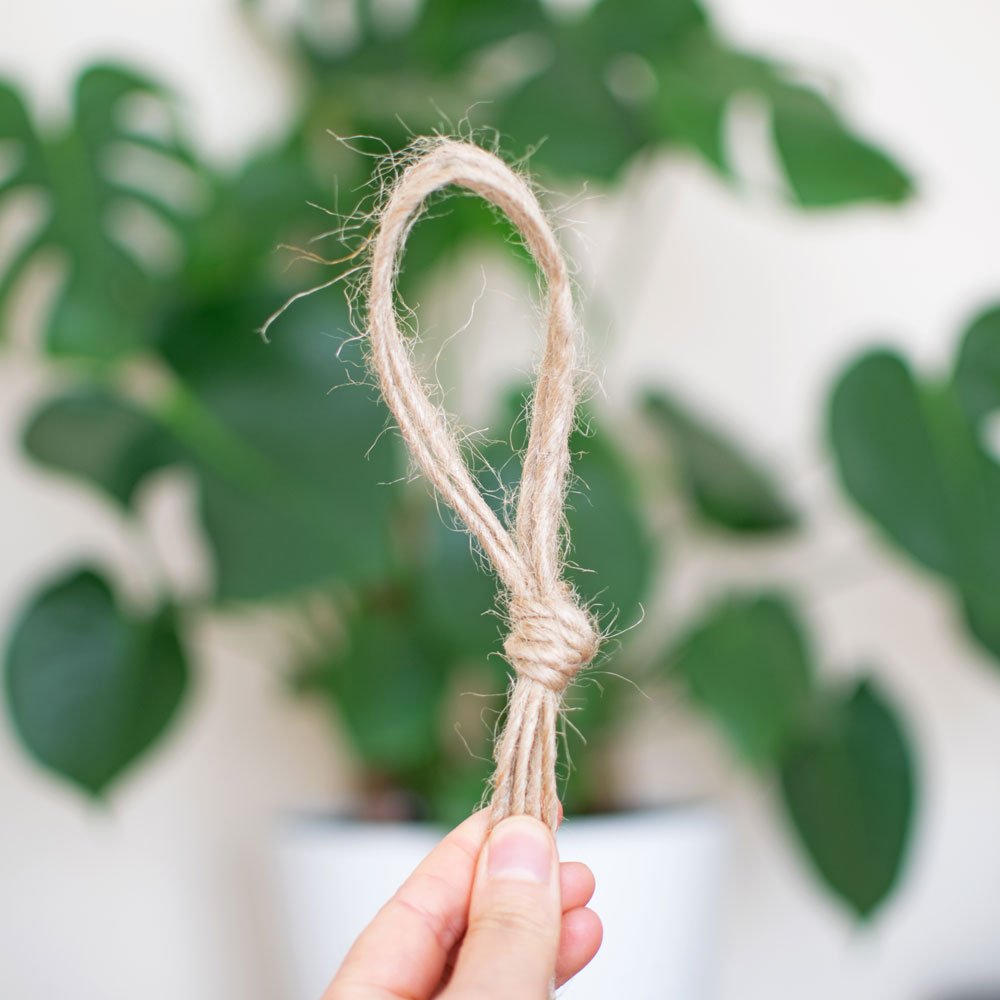
Using the loose ends, tie an overhand knot by bringing them over your hand and through the loop (not the handle).
Pull the knot tight and adjust it so it sits neatly where your fingers were holding the cords.
This will become the top loop for hanging your plant hanger. See photos for reference.

Step 3 - Make the base
You should now have 6 lengths of cord hanging down from the handle.
If it helps, hang your piece up while you work — this makes it much easier to keep everything even. I use an S hook, but a door handle or any hook will work just as well.
Take 2 cords and tie an overhand knot about 40cm down from the handle knot.
Repeat this with the remaining cords so you have 3 knots sitting side by side.
These knots will start to form the base that holds your plant pot.
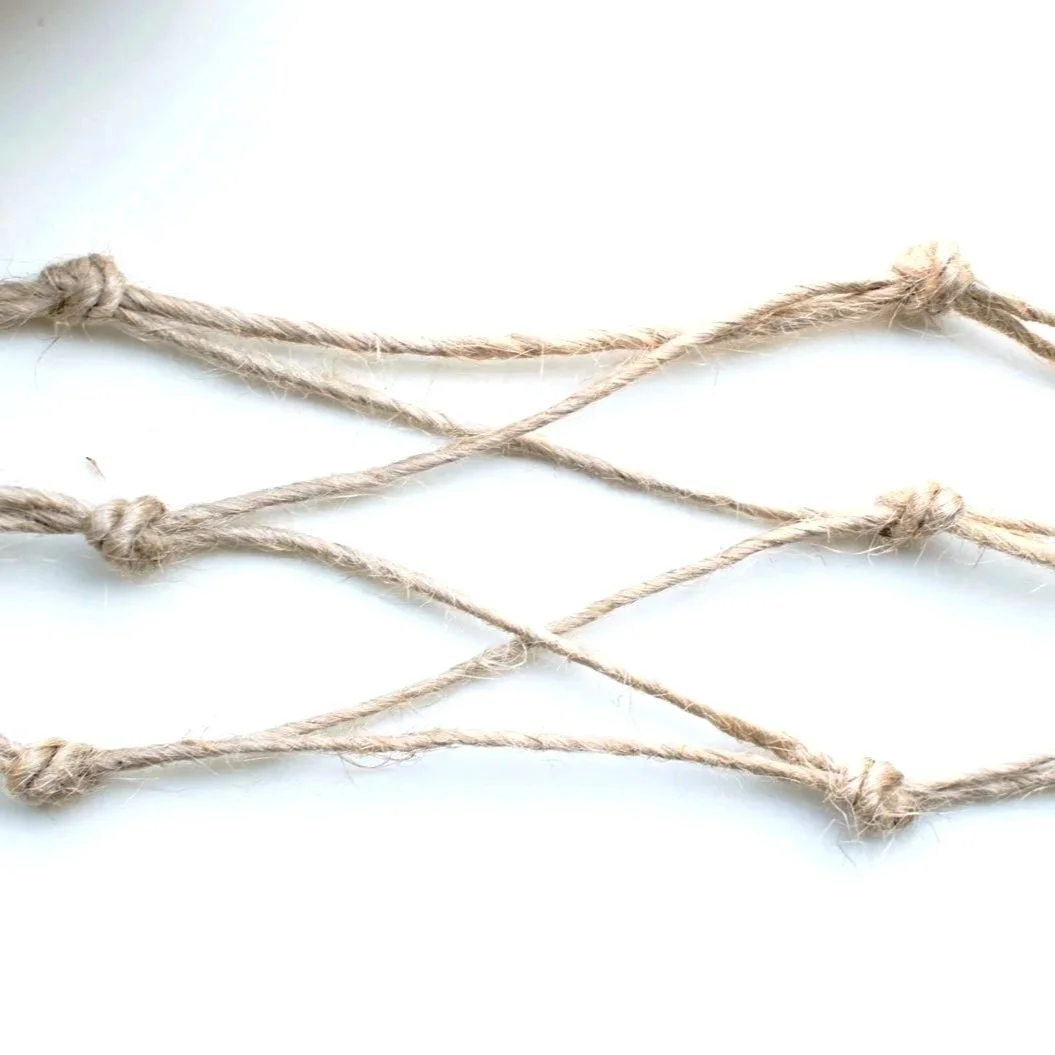
Step 4 - Tie 3 more knots
Now repeat the same process, but this time use one cord from each neighbouring pair.
Take one cord from one knot and one from the next, then tie an overhand knot about 15cm below the first row of knots.
Repeat this all the way across so you create a second row of knots in between the first.
If you’re using a larger pot, you can increase this spacing slightly.
See photo for reference.

Step 5 - Finish off the base
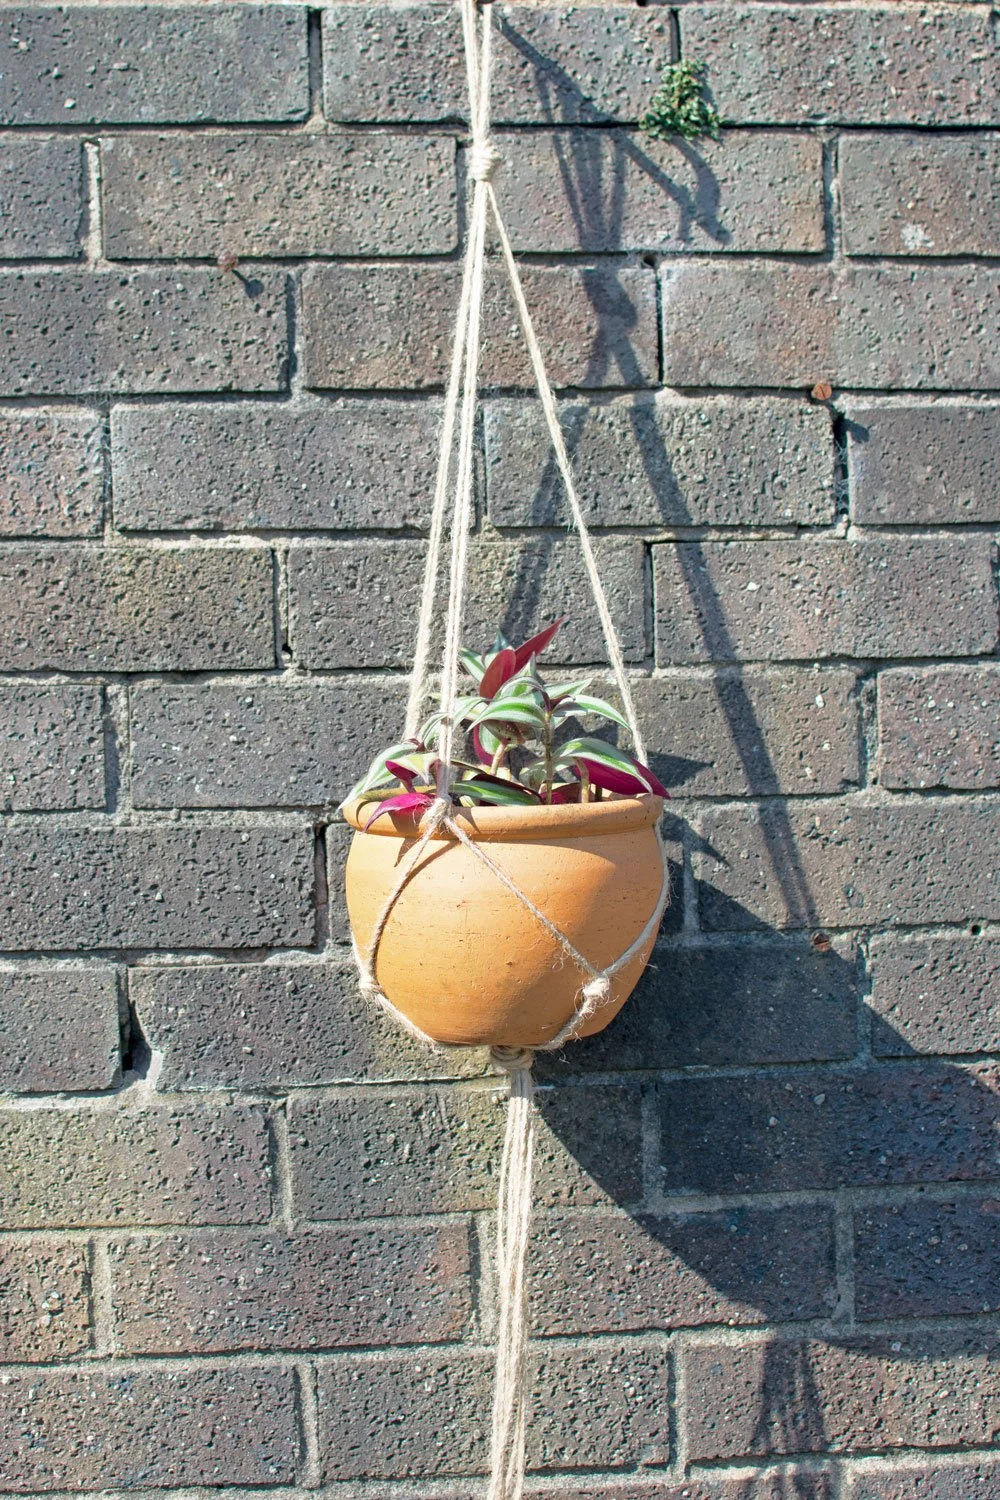
Bring all 6 cords together and tie one final overhand knot, just like you did for the handle.
Tie this knot about 10cm below the last row of knots.
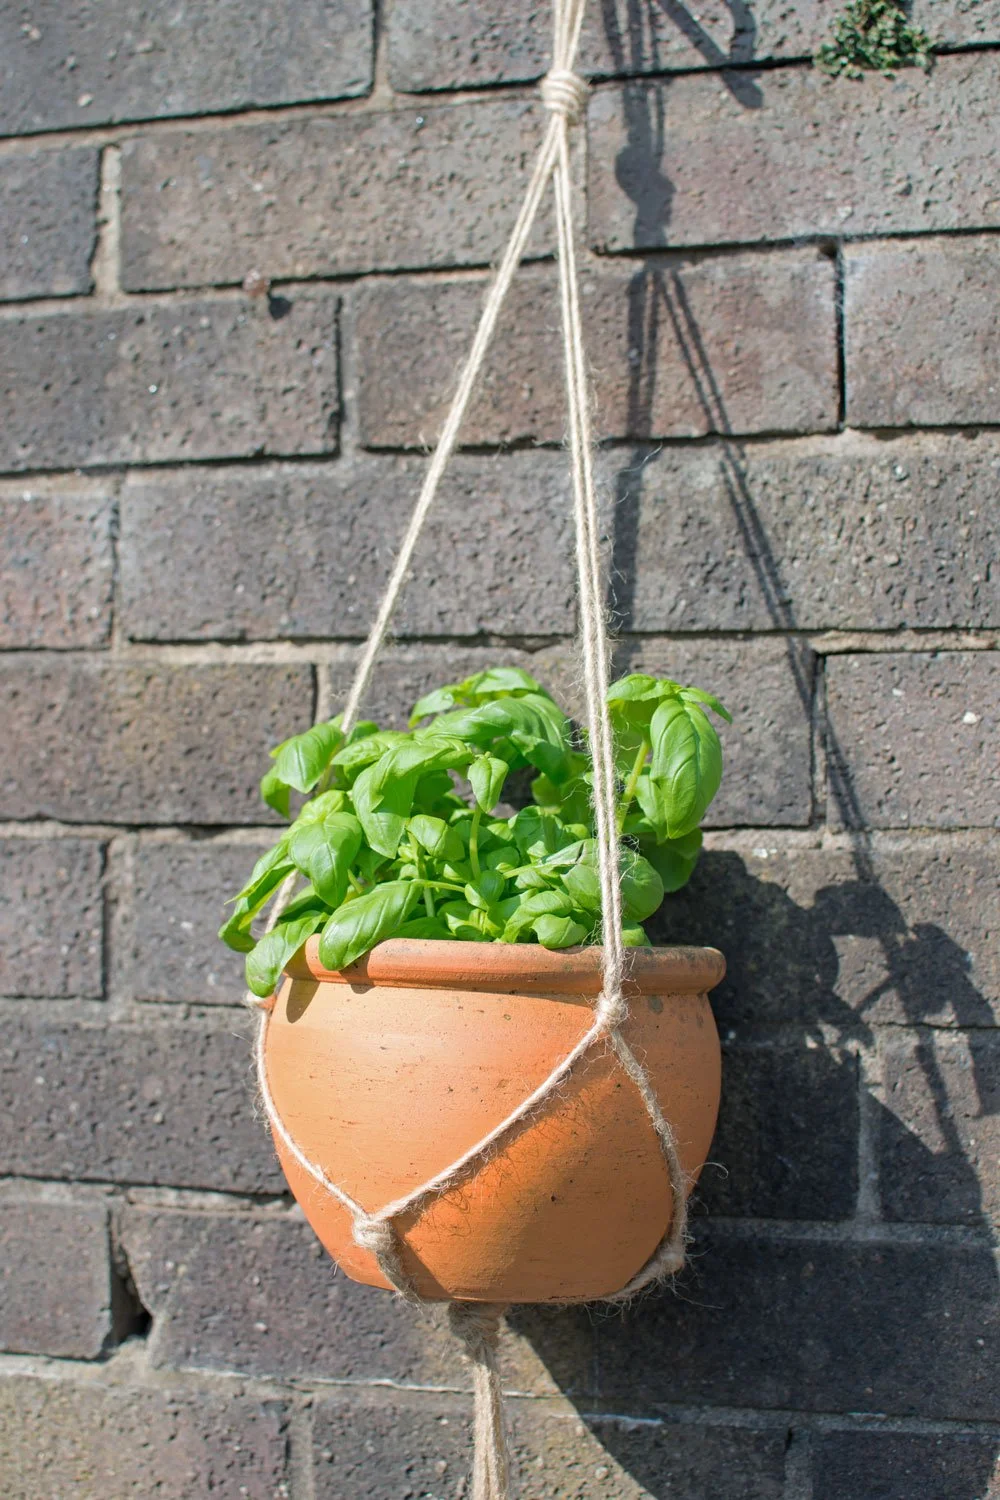
Place your plant pot into the hanger and check the fit. If needed, you can adjust the knot slightly to get the position just right.
Once you’re happy, trim the ends to your desired length or leave them longer if you prefer the look.
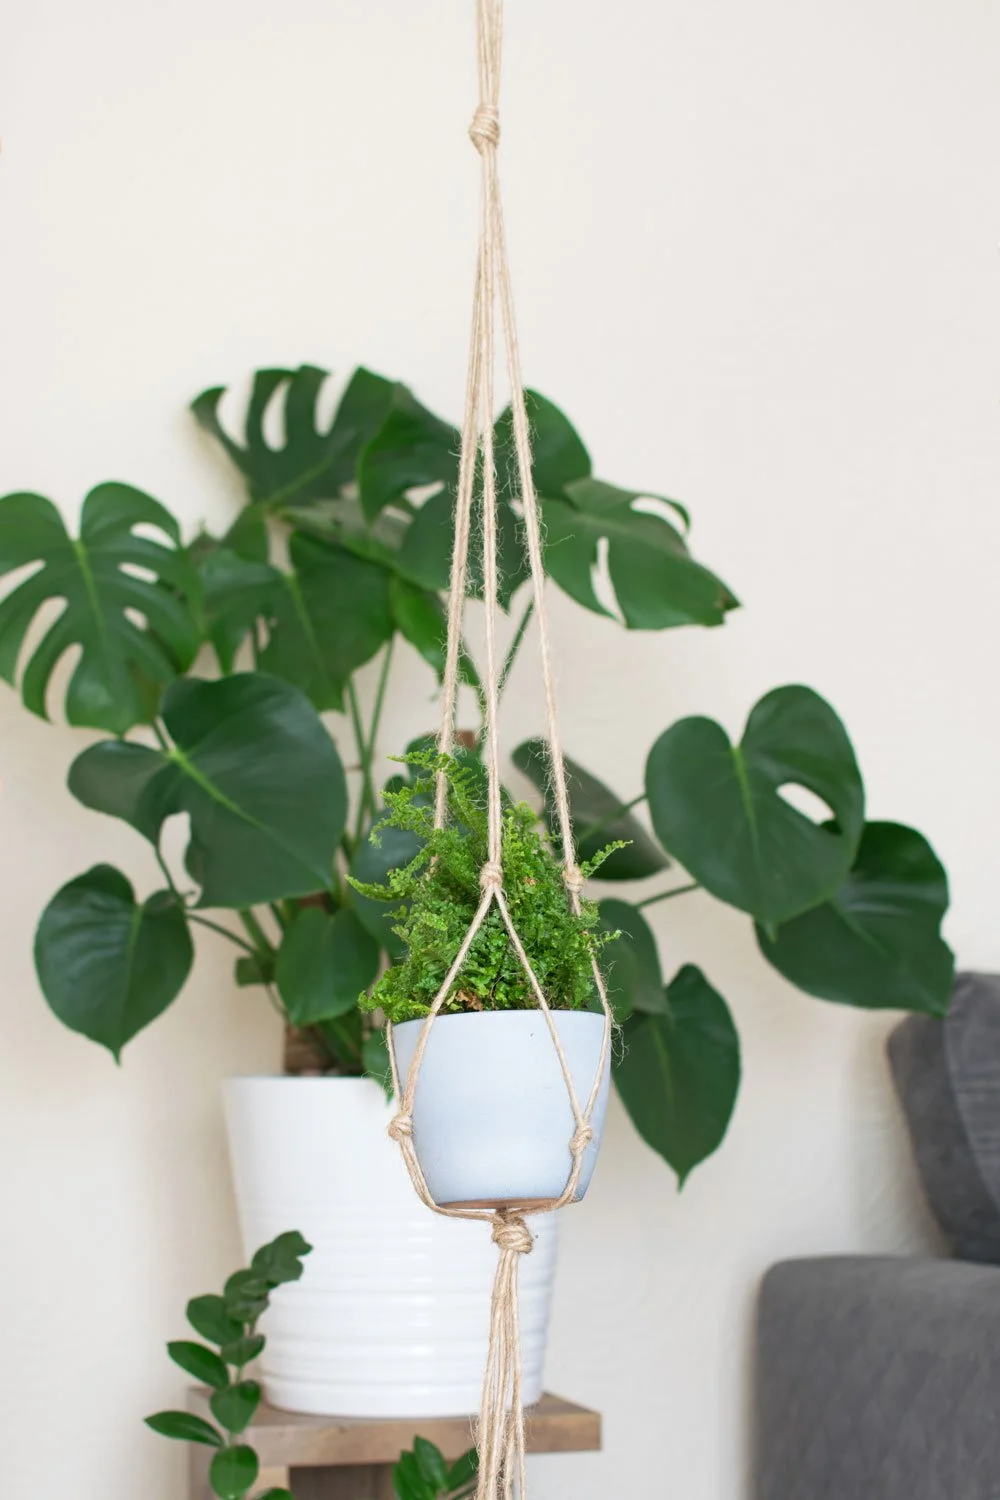
And that’s it - your plant hanger is complete.
Now you’ve made your first plant hanger, you can start experimenting with different sizes and styles.
I use a simple cord calculator to plan my measurements before I start - it makes the whole process much easier, especially if you want to adjust the style which requires adding in more knots.
Ready to try something a little more detailed?
If you enjoyed making this, you might like trying a slightly more detailed design.
My daisy chain plant hanger kit is a great next step. It uses similar techniques and builds on the basics, but adds a bit more detail while still guiding you through each stage.