Learn Macrame Knots: How to Tie a Lark’s Head Knot
The Lark’s Head knot is one of the simplest macrame knots to learn, but it’s also one you’ll use again and again. It’s commonly used at the very beginning of a project to attach your cord to a wooden dowel, hoop or other support before you start creating your design.
I’ll show you exactly how to tie a Lark’s Head knot step by step, so you can confidently use it in your own projects.
And because this one is so quick to master, there’s a little bonus afterwards! We’ll use the attached cords to create an easy spiral pattern using repeated half square knots another simple technique that creates a beautiful effect with very little effort.
Grab a couple of lengths of cord and let’s start knotting.
Before your start…
If you need help figuring how much cord to begin practising with (or for your own designs), I’ve created a free cord calculator you can use again and again.
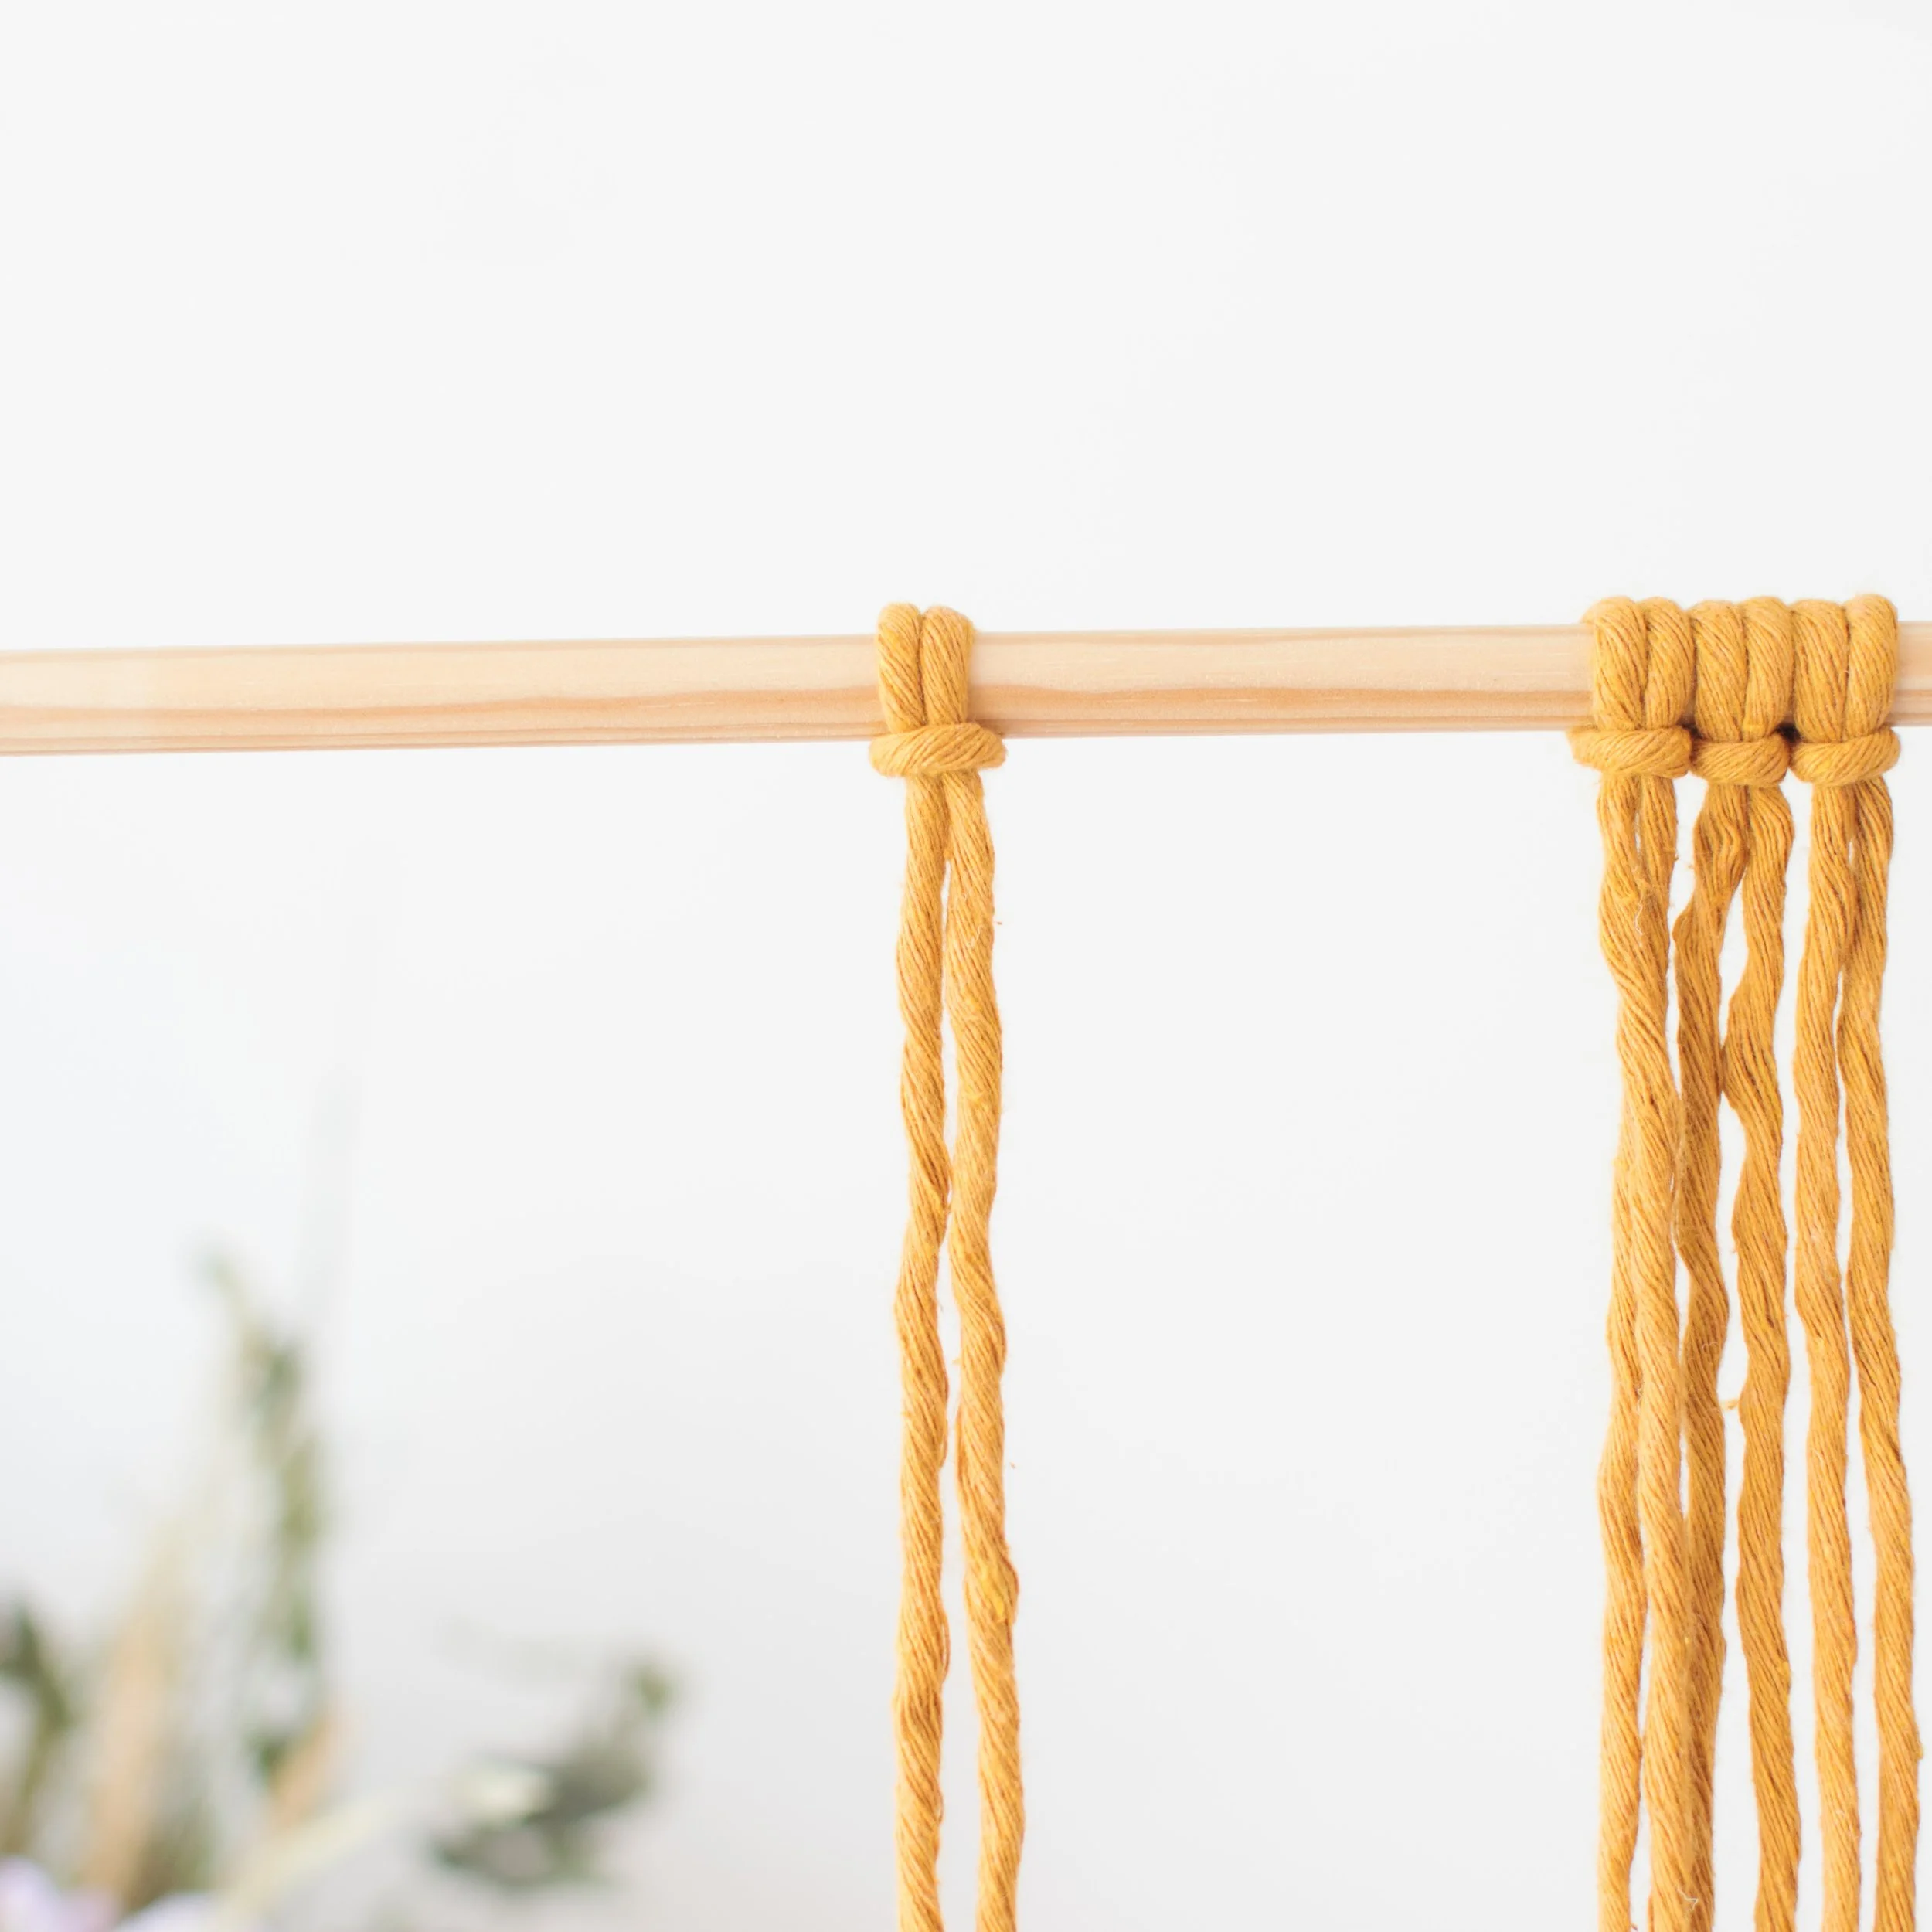
Step 1
Start with two lengths of cord.
Take the first piece, fold it in half and place the loop over your dowel.
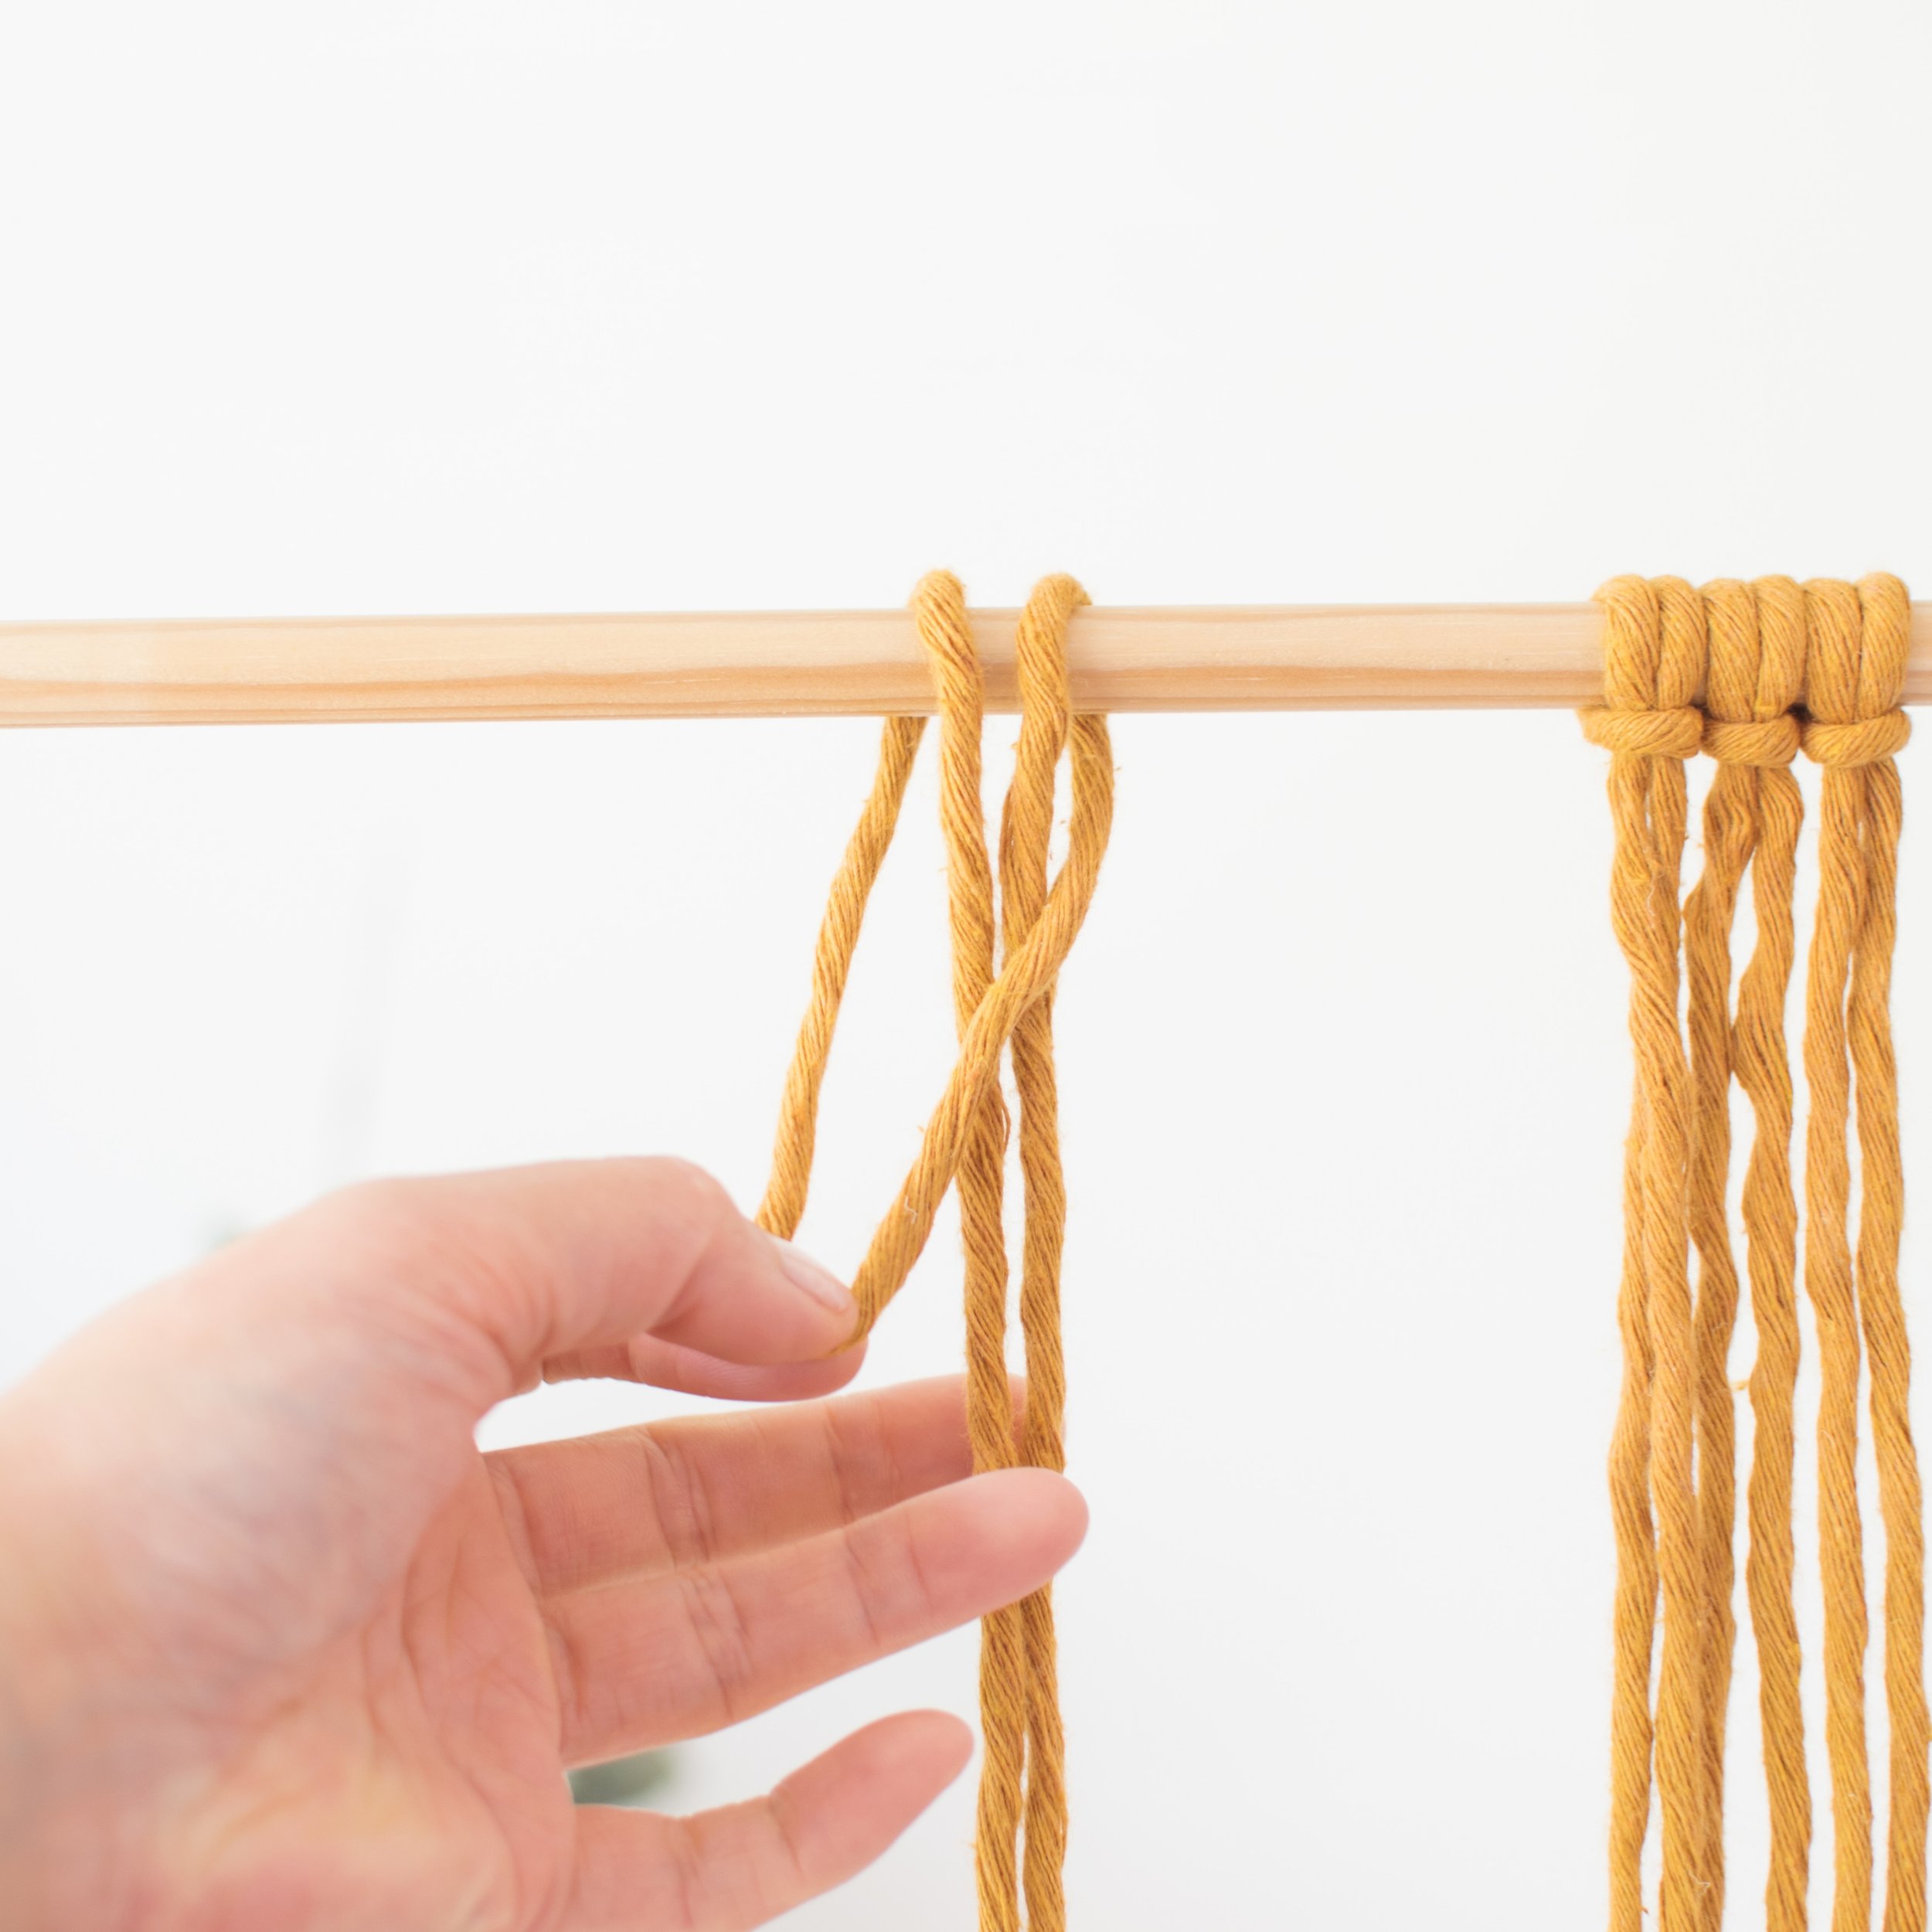
Step 2
Feed the two loose ends through the loop.
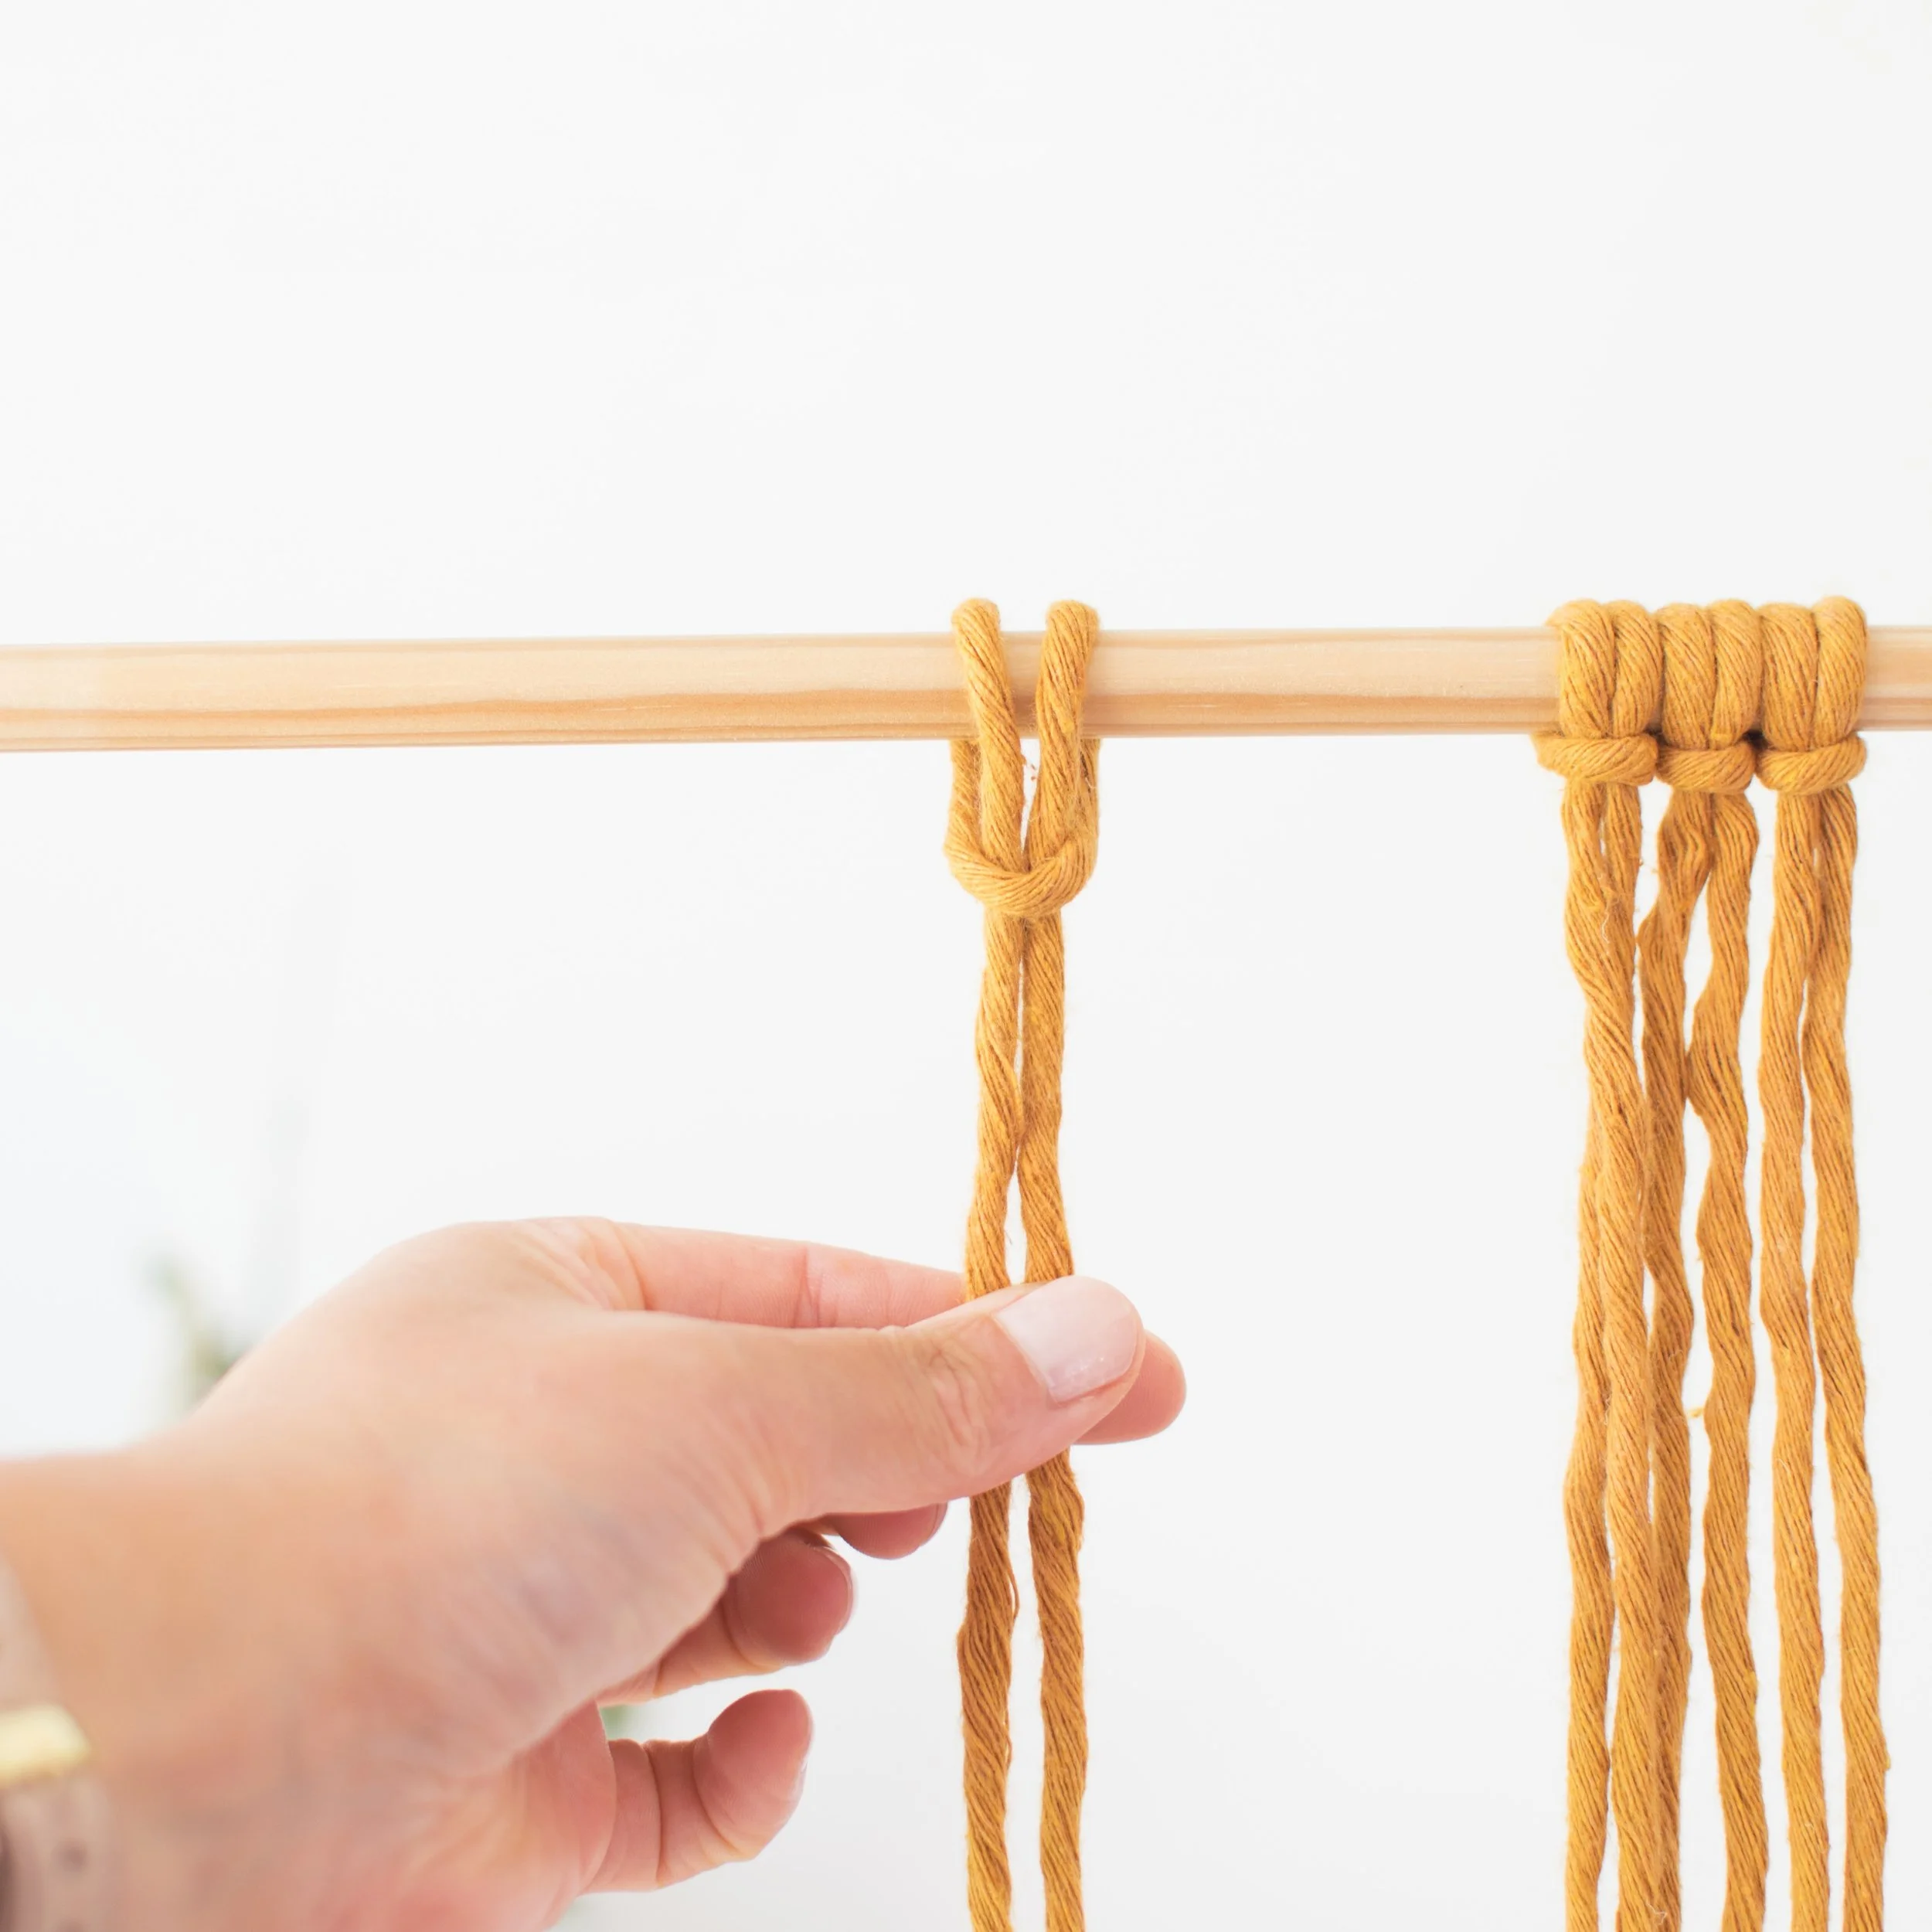
Step 3
Gently pull to tighten.
Hold onto the top section and the dowel with your other hand to make it easier to tighten.
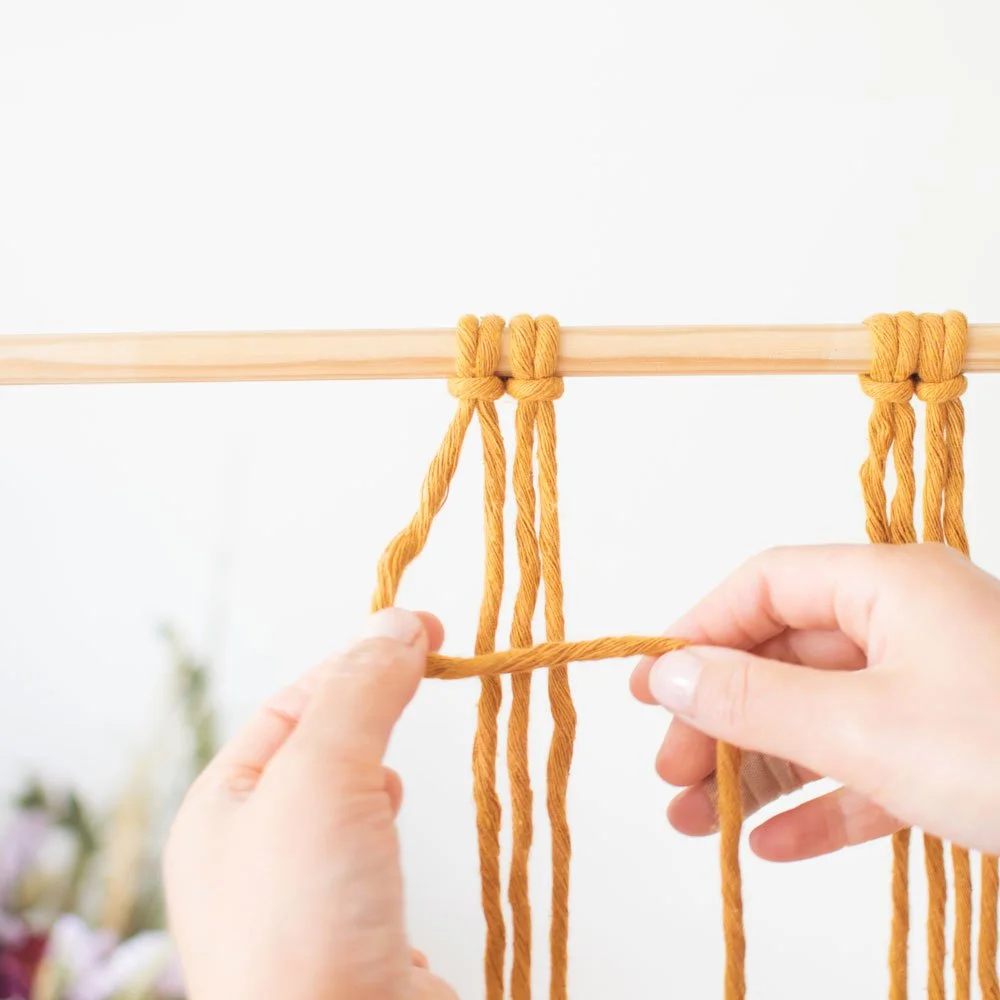
Step 4 - Bonus (spiral)
Repeat the same steps with your second piece of cord.
Once both cords are attached, bring them together. You should now have four cords to work with.
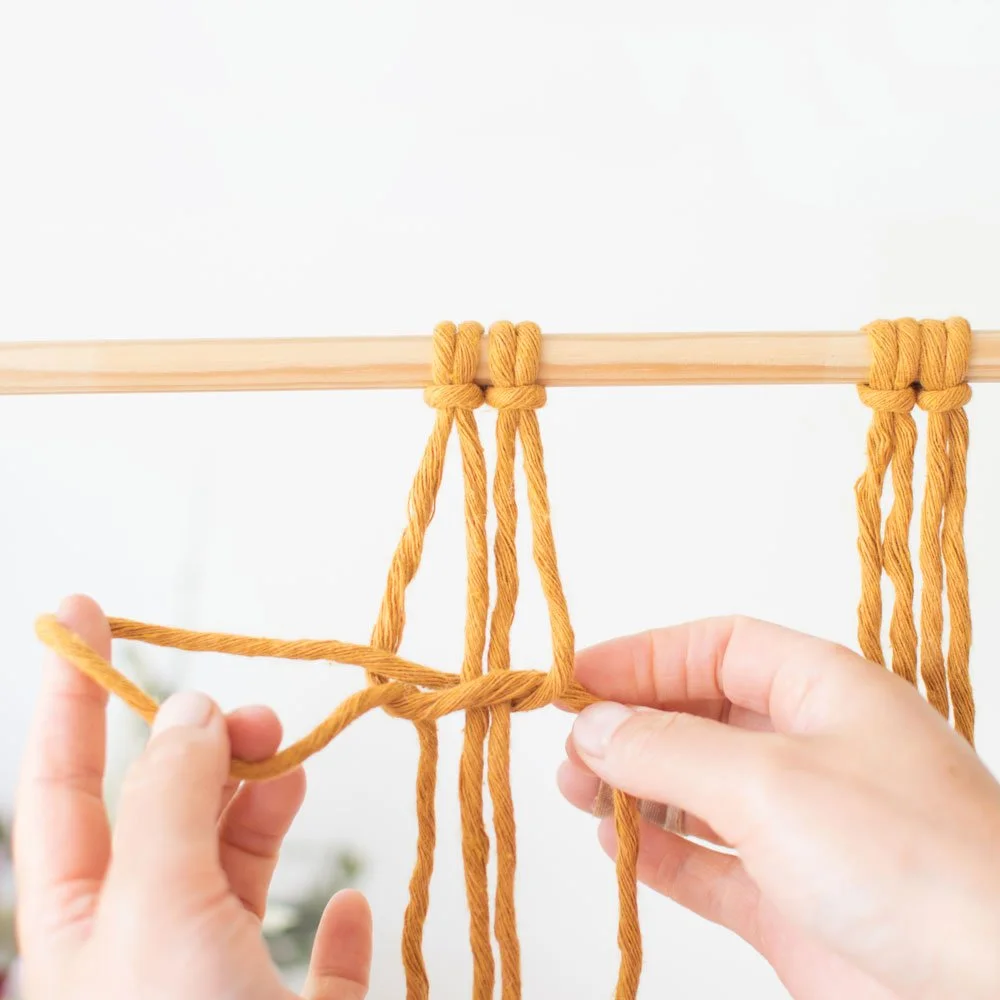
Step 5
Take the left cord and bring it across the two centre filler cords to create an ‘L’ shape.
Take the right cord over the end of the left cord, pass it behind the two filler cords, then bring it through the loop on the left.
Pull both cords gently to tighten.
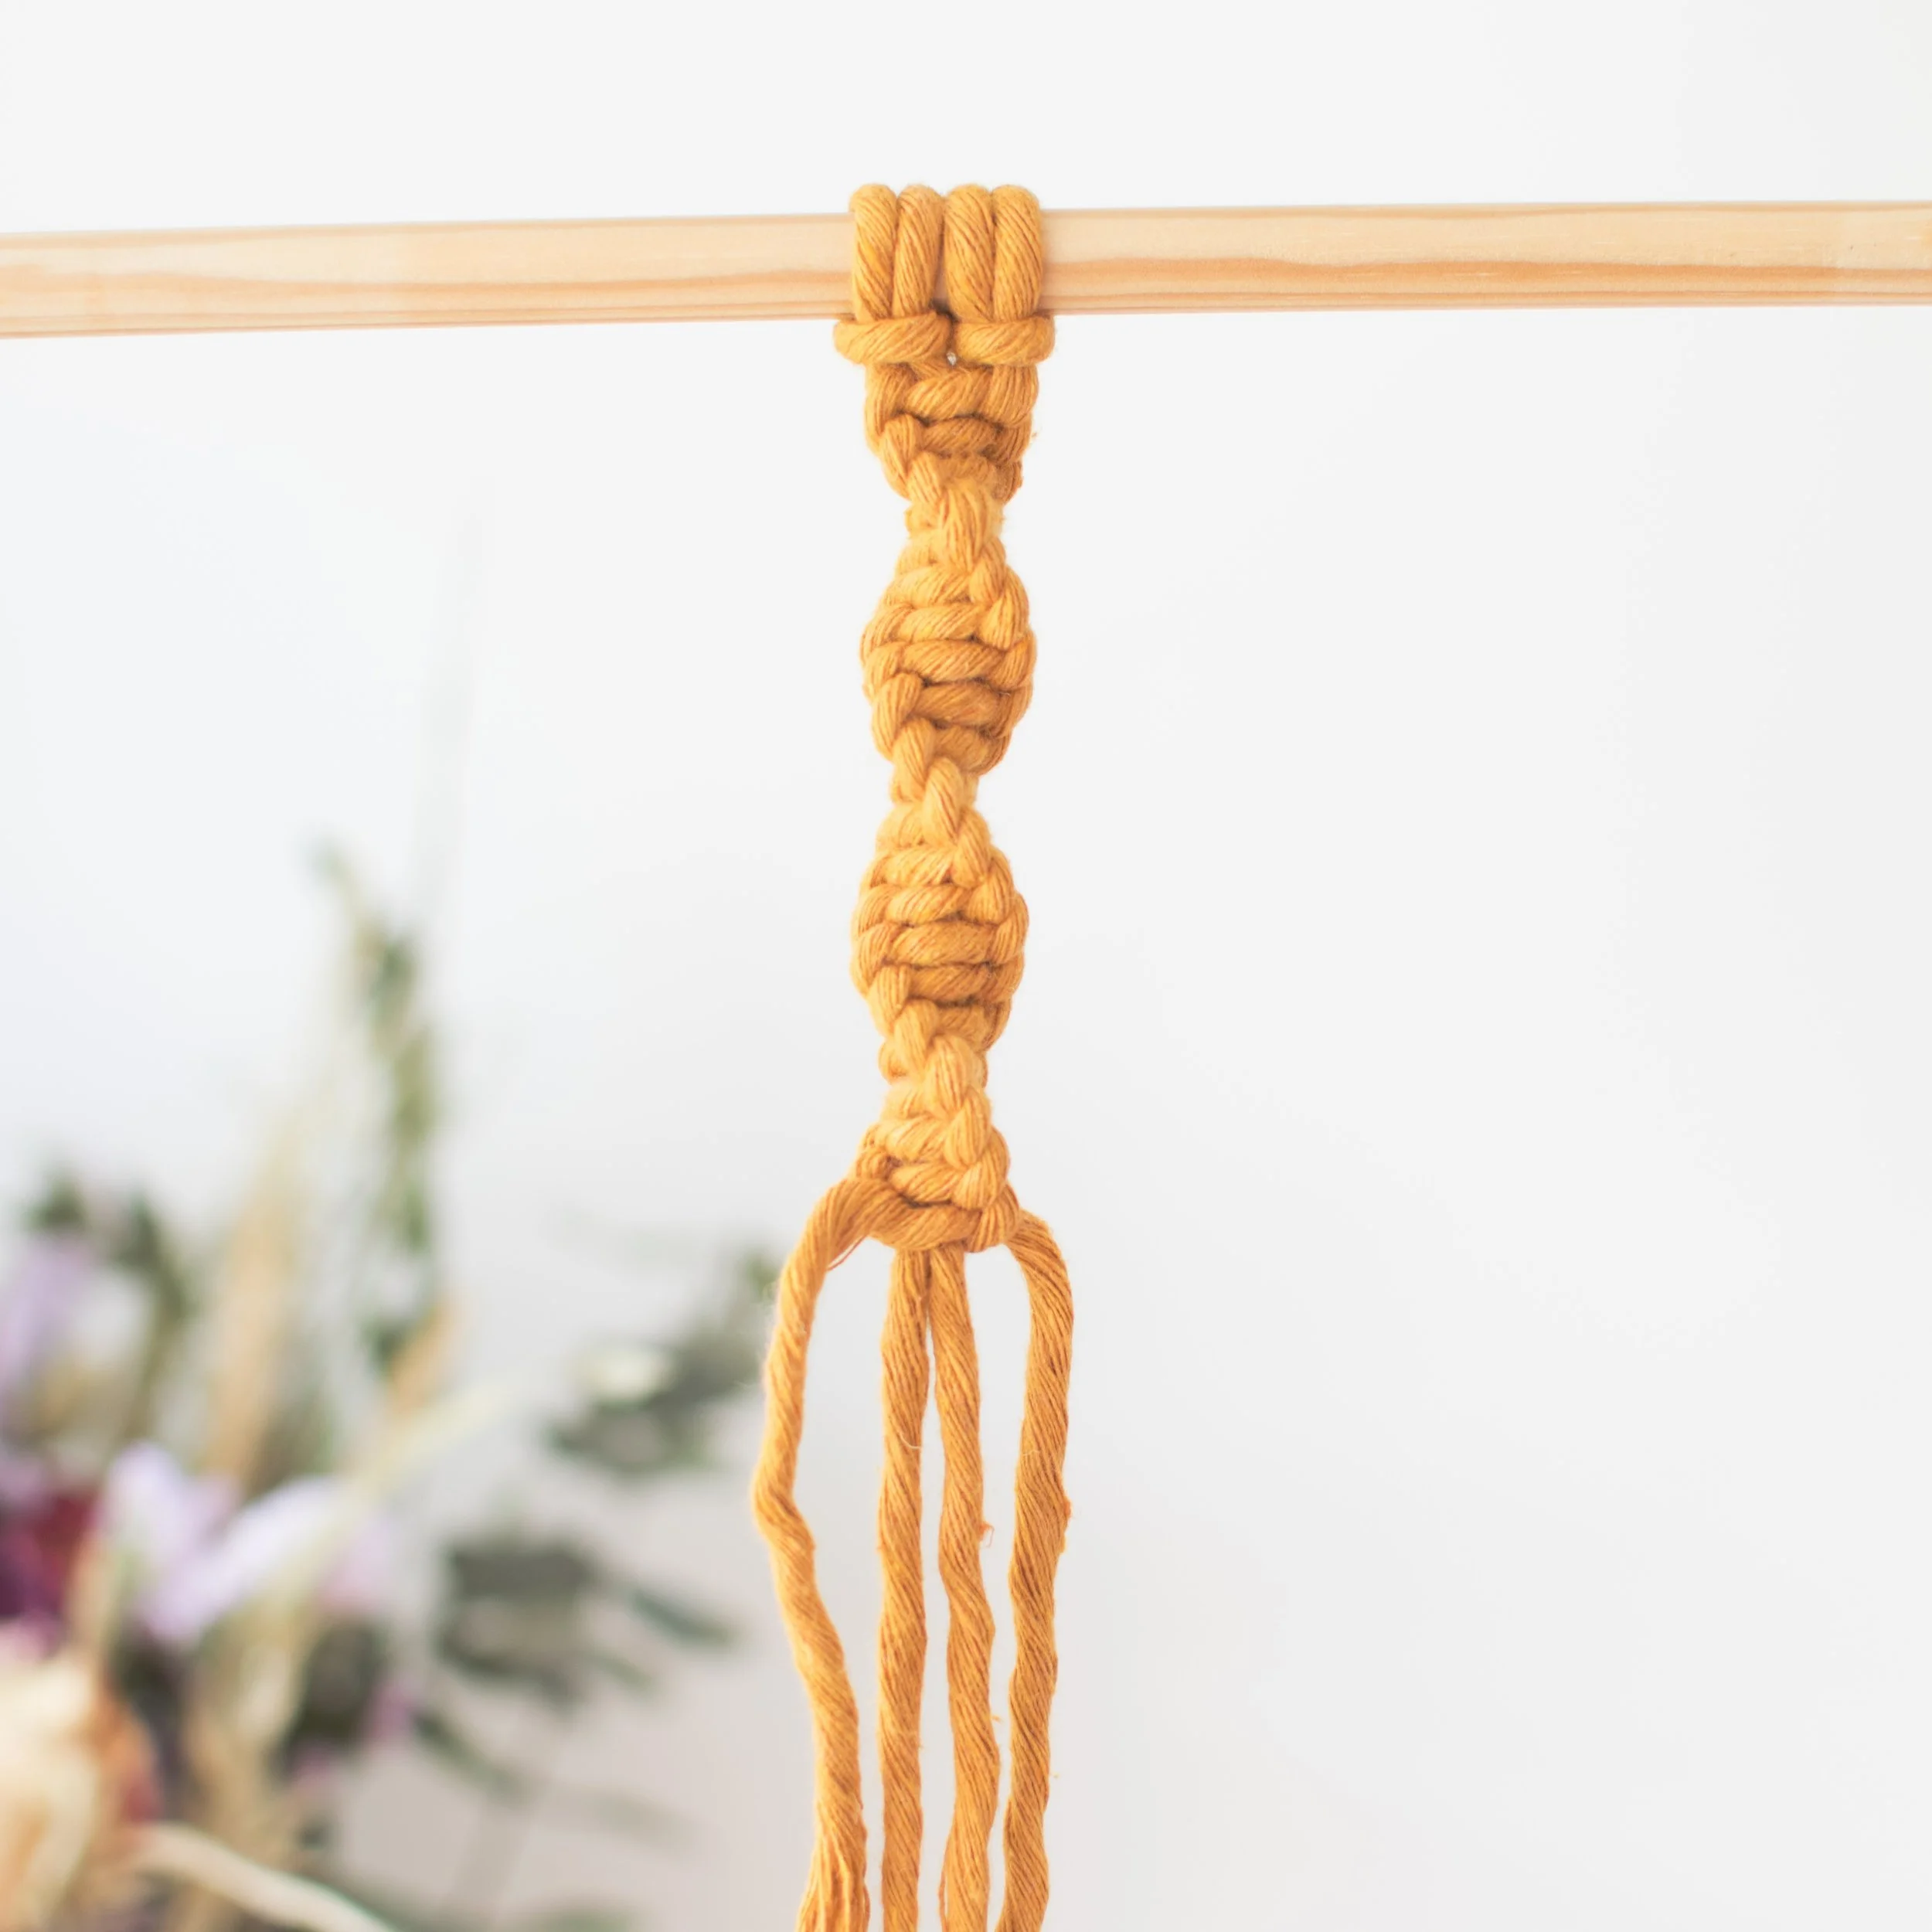
Step 6
Now repeat exactly the same knot, always starting with the cord on the left.
As you continue, you’ll notice the knots naturally begin to twist and your left working cord will start to move around the spiral.
As you repeat the knot, you’ll start to see that beautiful spiral pattern take shape.
Continue for as long as you’d like, or until you reach the end of your cord.
Unsure how much cord to start with?
Figuring out cord lengths can feel surprisingly confusing at first, especially when you have no idea how long you want the spiral pattern to be.
I created a free macrame cord calculator to help you estimate how much cord you’ll need before starting your project, whether you’re simply practising knots or planning a larger design.
What can I use this pattern in?
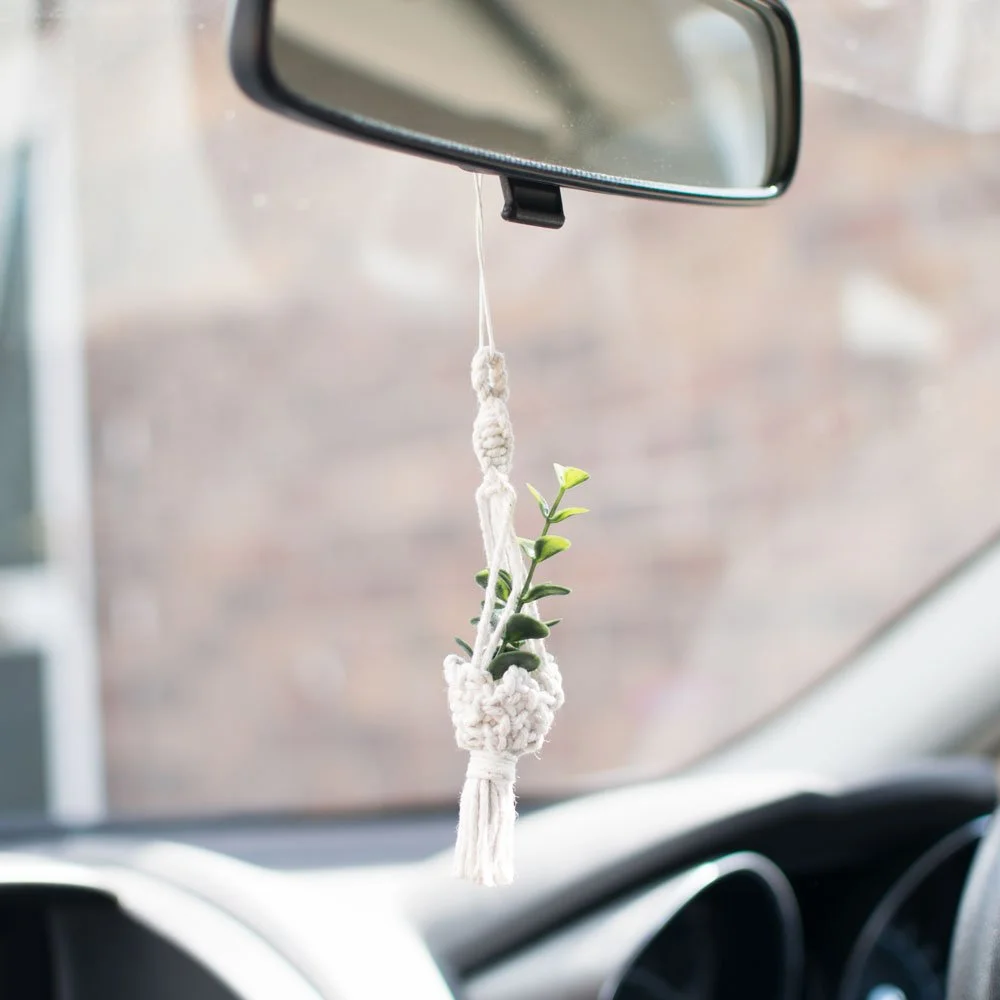
This spiral pattern can be used in all kinds of macrame projects, from wall hangings and hanging shelves to plant hangers and other home decor. As well as adding a beautiful twisted detail to your design, the repeated knots create a strong section of cord that can add structure and support where needed.
Ready to put it into practice? Try my Mini Macrame Plant Hanger tutorial next. You’ll repeat the spiral pattern you’ve just learned, but this time using thinner cord for a little extra challenge. It’s a fun way to practise the technique while building your confidence with finer materials and more detailed macrame projects.
