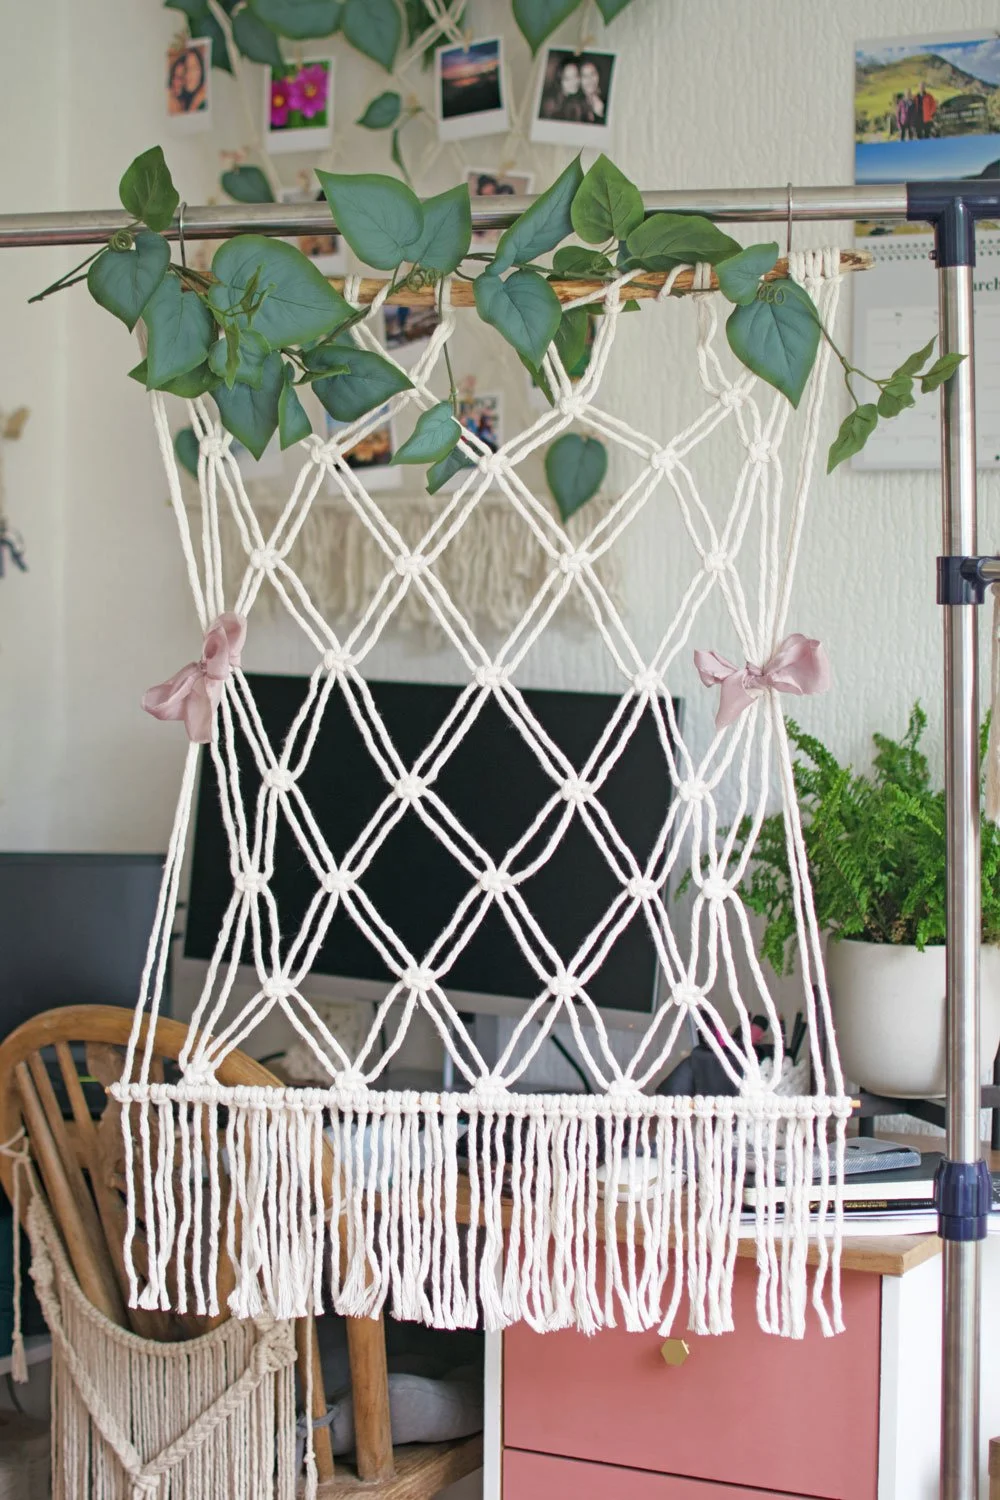
DIY Macrame Photo Display Tutorial (Wedding Seating Plan Idea)
Creating your own macrame photo display is a simple way to add something personal and meaningful to your space. It’s a piece that not only looks beautiful, but holds the moments that matter most to you.
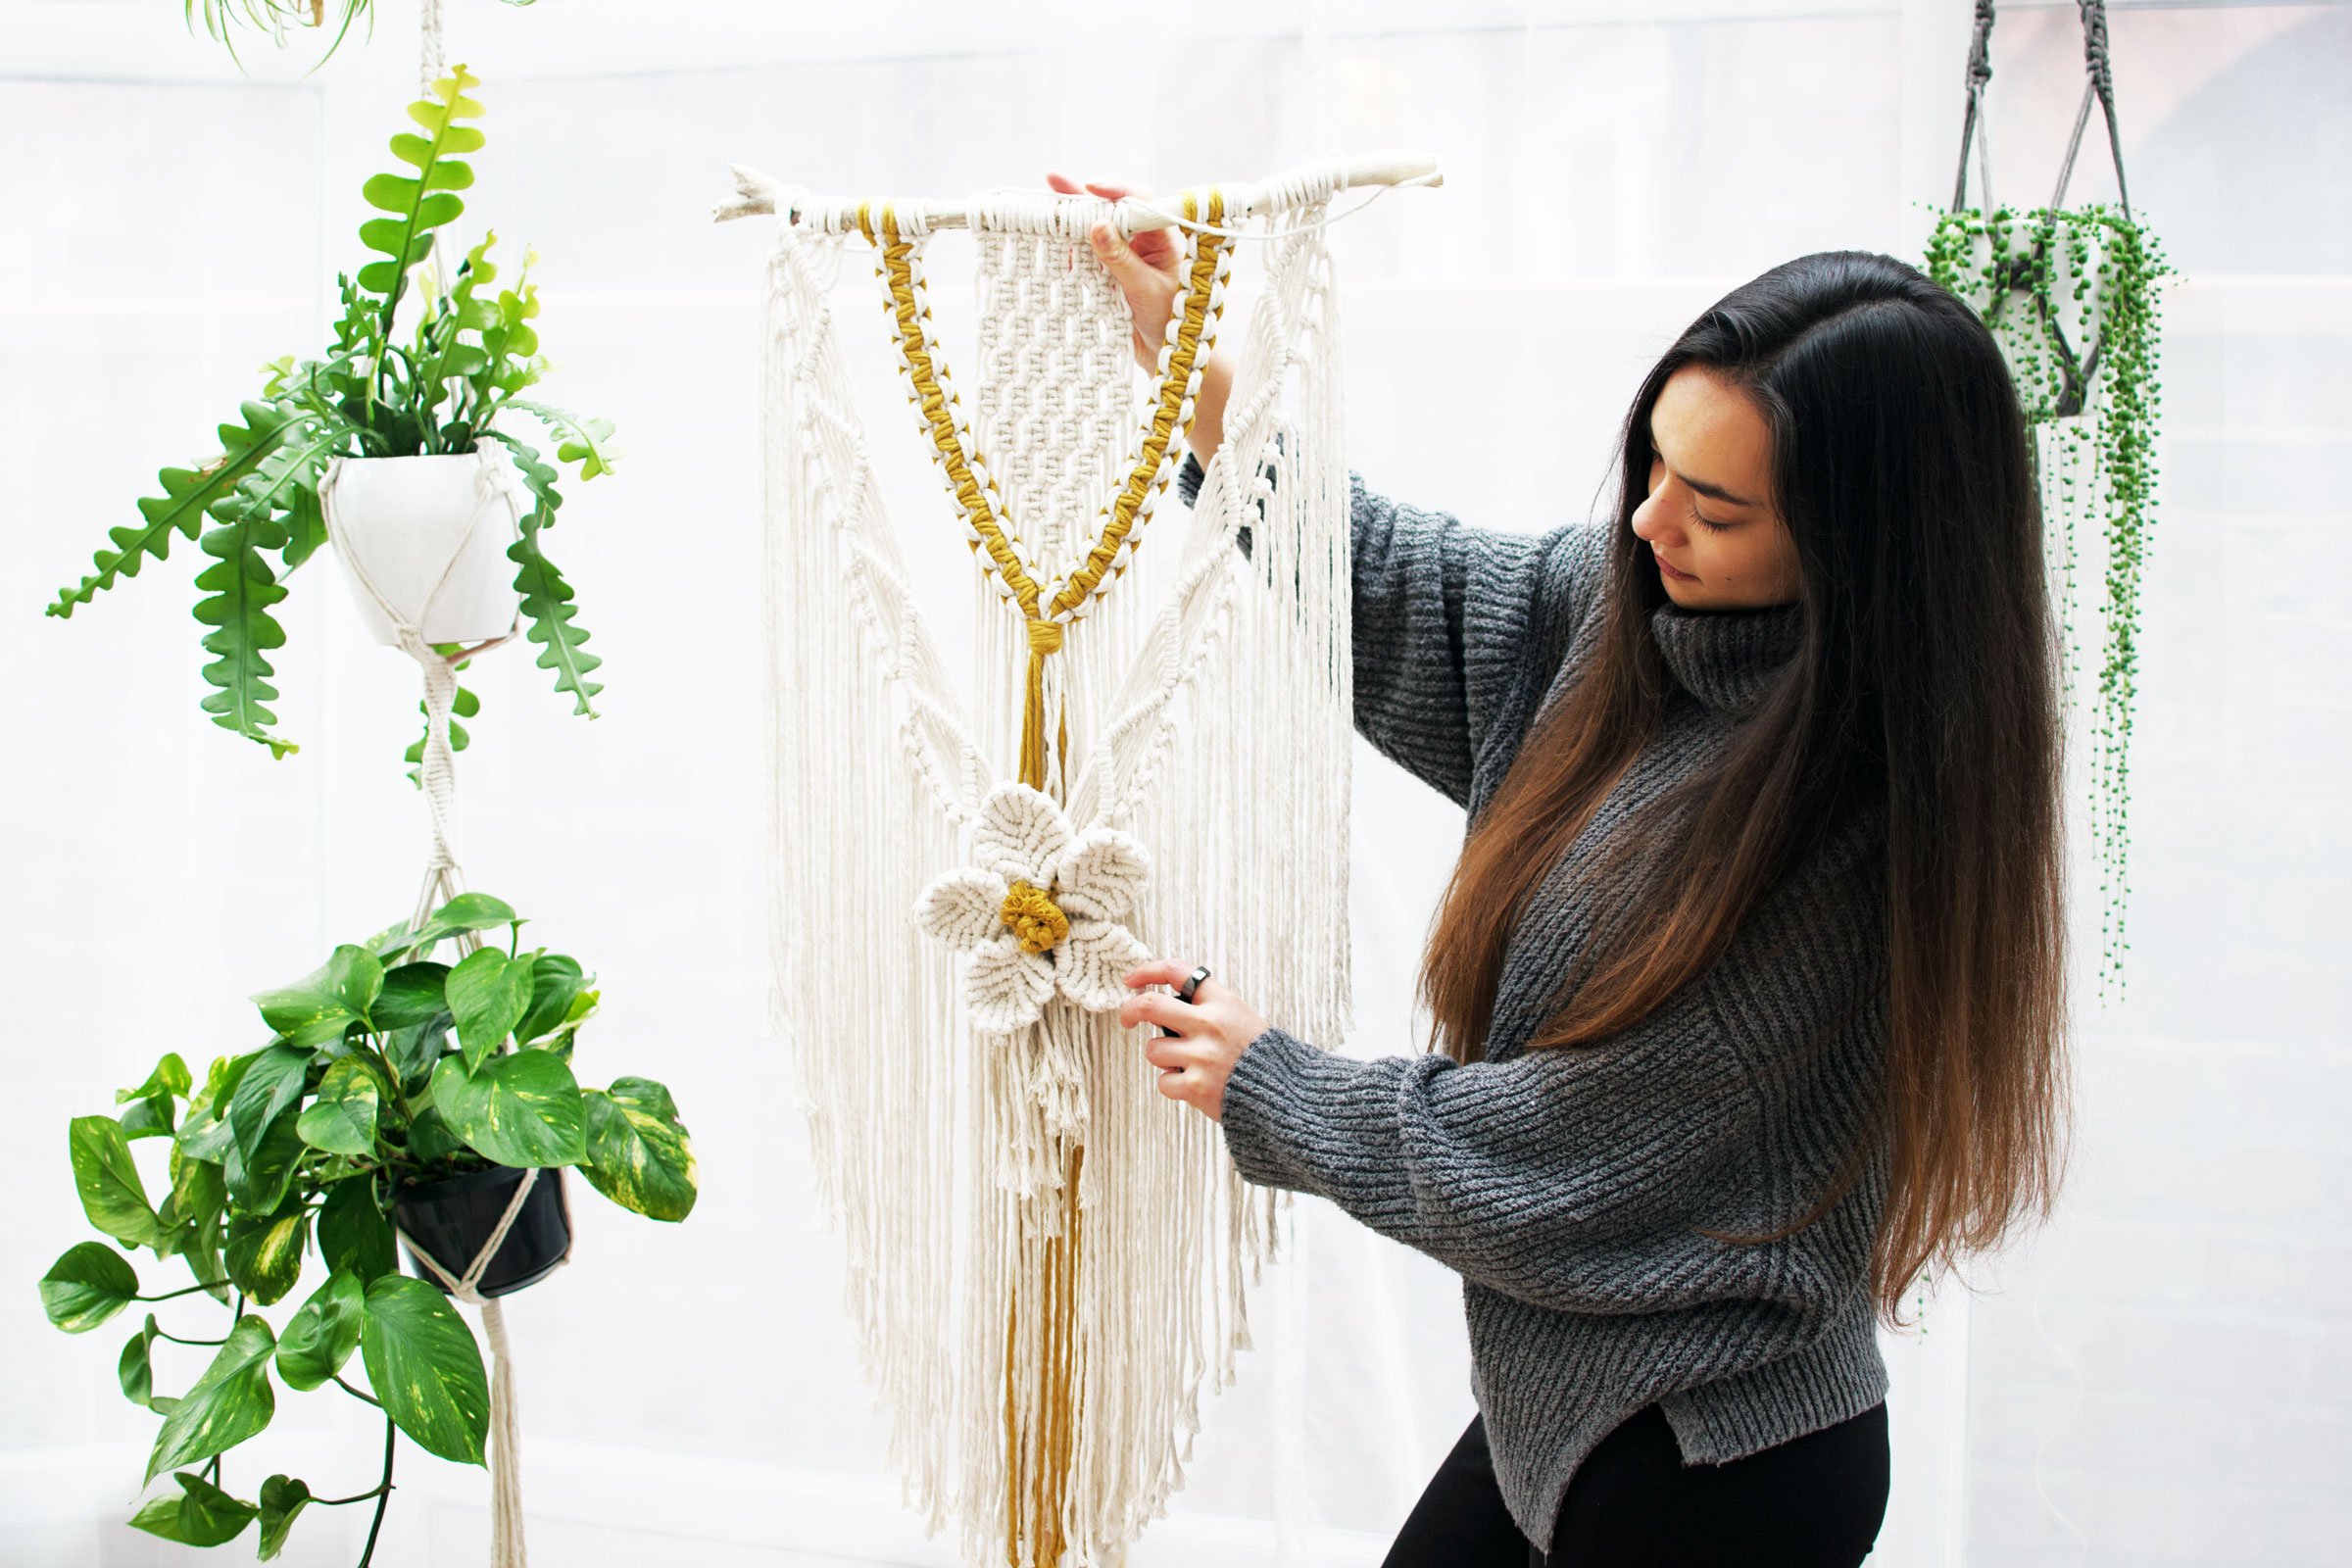
In this tutorial, I’ll guide you step-by-step through how to make a macrame display using simple, structured knots that come together into a clean, versatile design. It’s a calm, satisfying project that works just as well as everyday home decor as it does for special occasions.
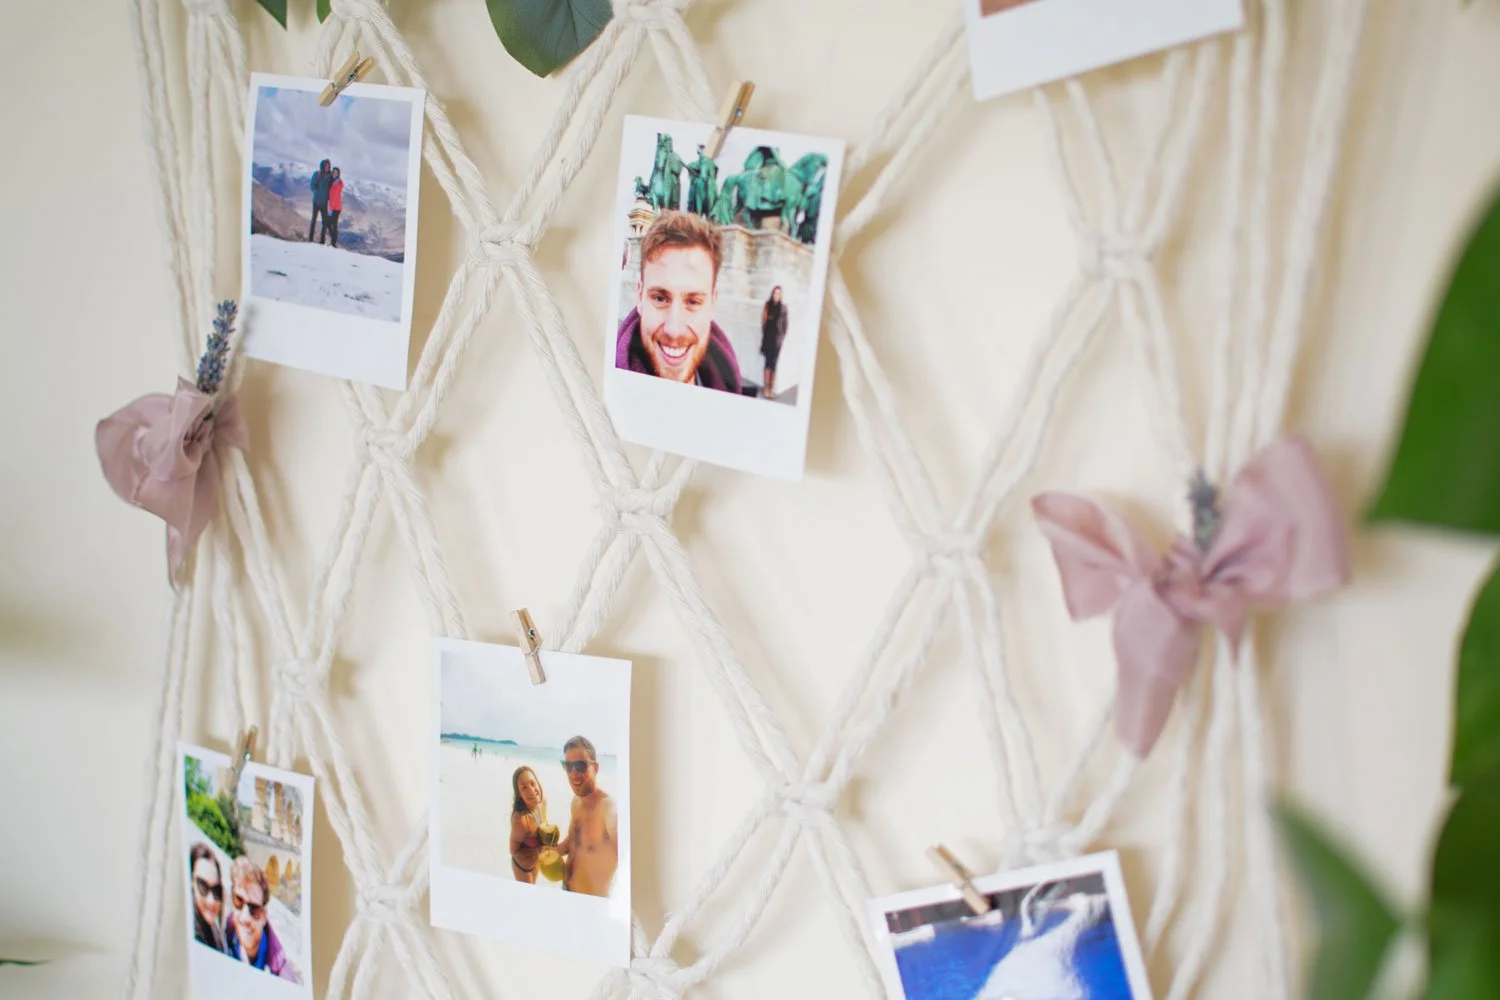
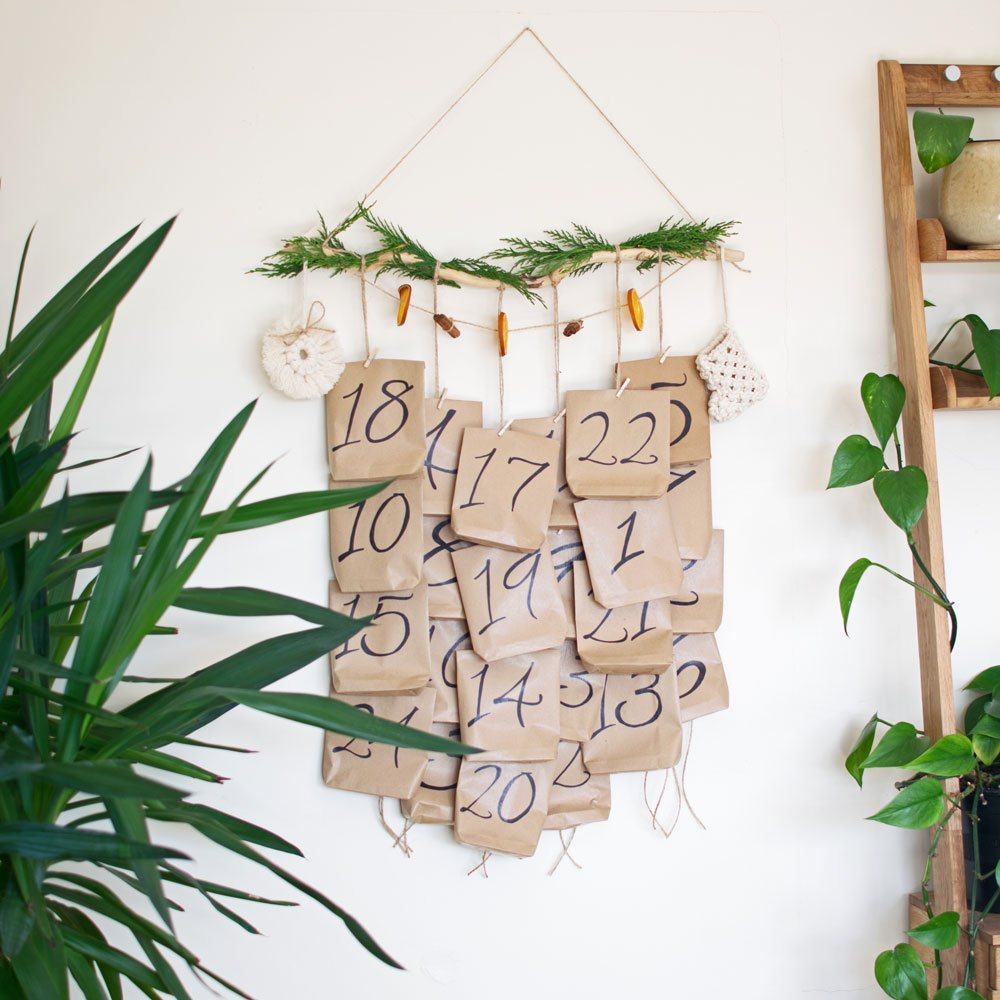
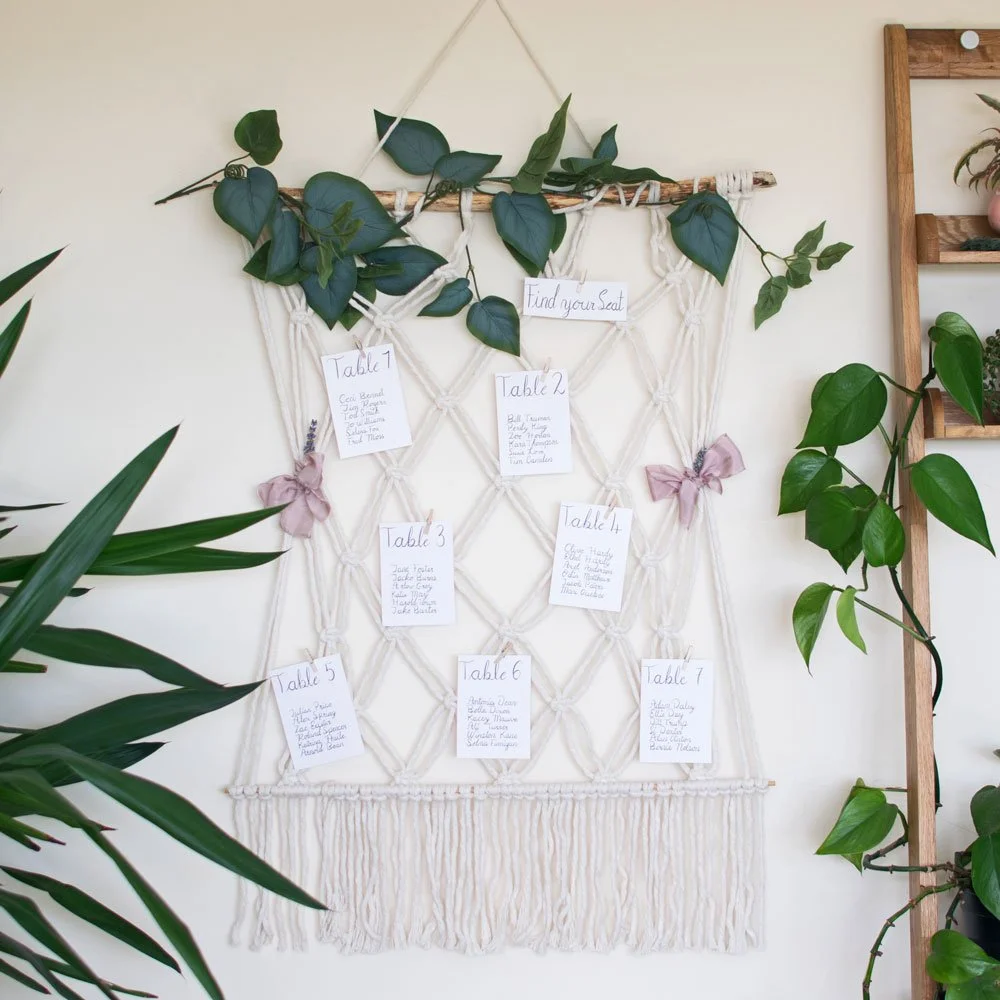
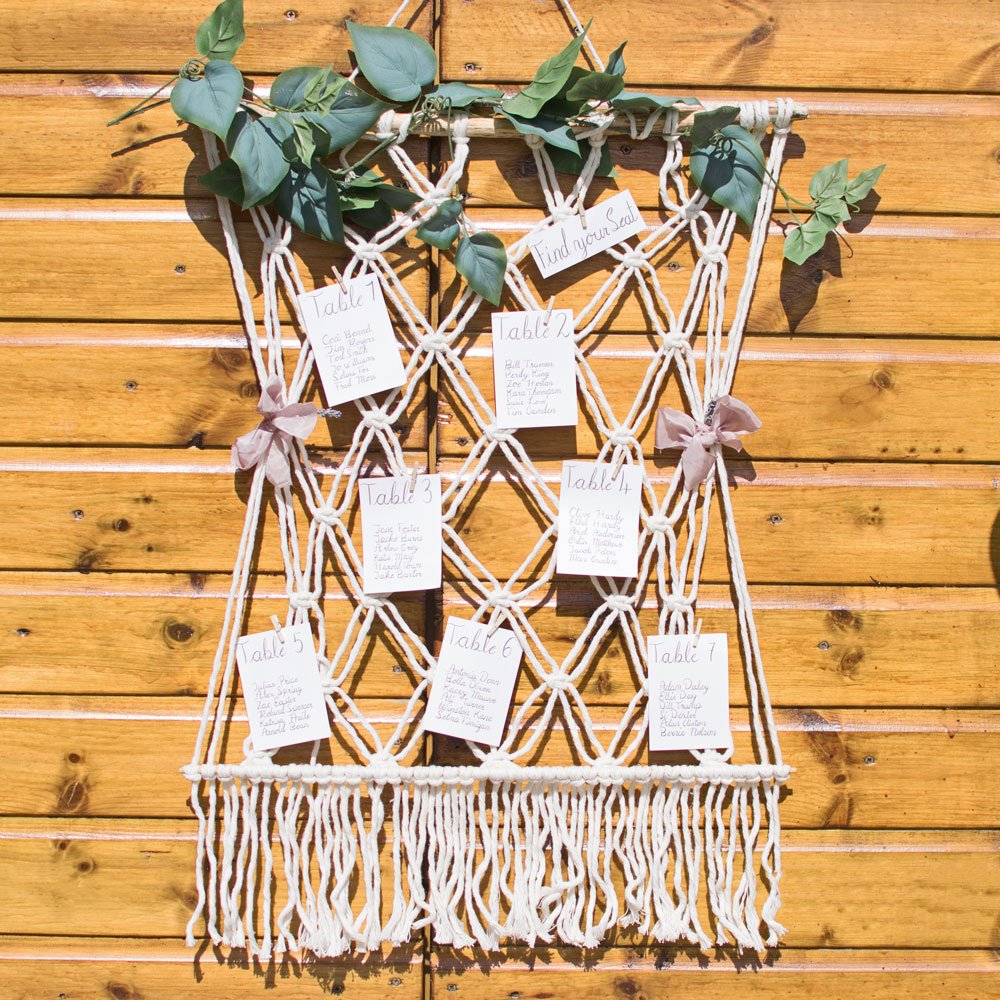
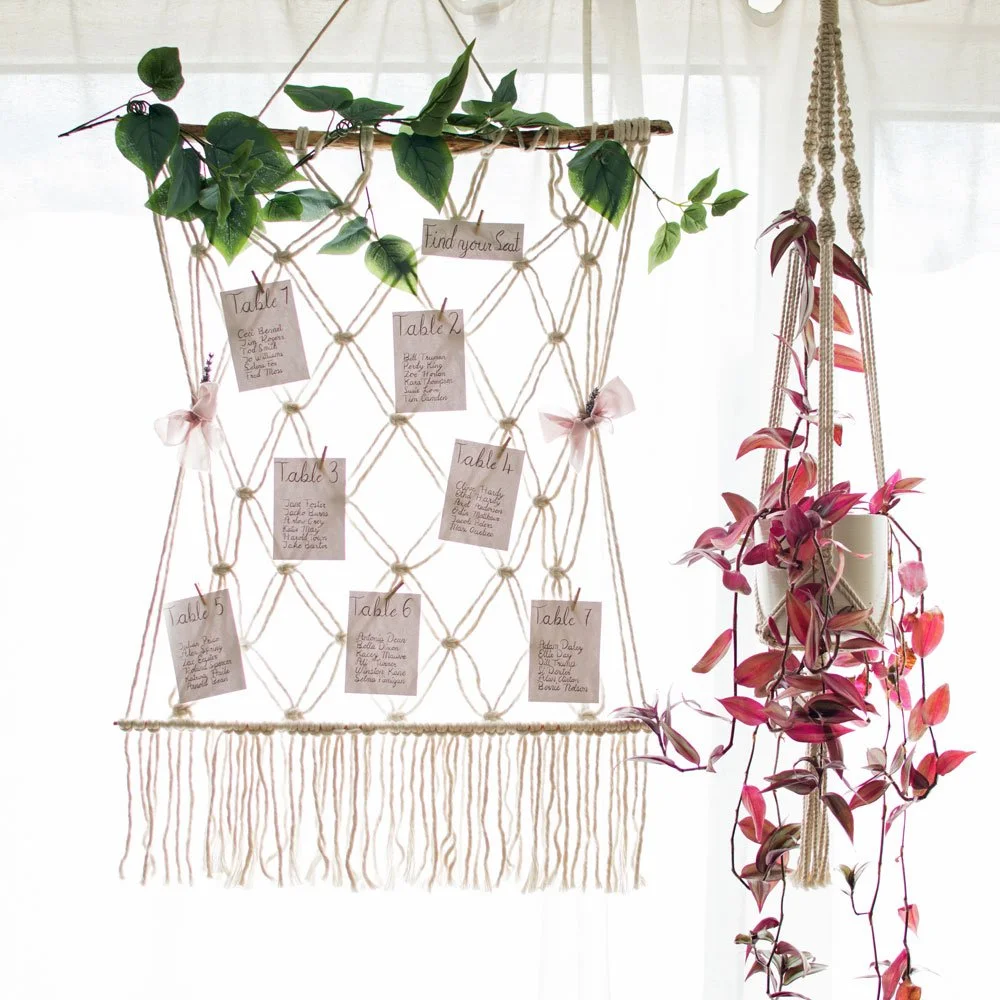
While it’s perfect for styling photos in your home, this design can also be adapted for weddings. Whether that’s displaying memories, creating a seating plan, or adding a soft, handmade touch to your setup.
By the end, you’ll have a piece that’s completely your own, something you can style, change, and reuse over time in a way that feels both creative and personal.
Before you start…
If you’d like help calculating exactly how much cord you’ll need for your projects (especially when resizing designs), I’ve created a free cord calculator you can use again and again.
Materials
2 x sticks (driftwood/bamboo/wooden dowel - approximately 58cm
5mm natural white cotton cord (approx. 40m)
Fabric scissors
7-9 mini wooden pegs
Faux greenery
Photos or cards with table seating plan
2 x 50cm ribbons
Dried flowers
s hooks (optional)
Tops Tips
Set-up:
Using S hooks can make it easier to hang and work on your piece. I like using a clothes rack so I can move it towards the best light.
Stick:
A natural stick, driftwood, or a simple wooden dowel all work well. Just make sure anything found outdoors is cleaned and fully dried before use.
Cord:
3mm–5mm cotton cord is ideal and easy to work with. You can also use hemp, bamboo or recycled cotton. Avoid very thin string as it won’t hold the display well. If you’re adjusting the size of your display, you can use my cord calculator to plan your cord lengths with confidence.
Display items:
I used 7 photos and 8 seating cards, but you can fit a few more without changing the size. Wooden pegs usually come in packs, so you’ll have extras.
Decor:
Add faux greenery, dried flowers, or ribbon to suit your style. I used 50cm of ribbon on each side, but you can adjust this depending on the look you prefer.
1. Attach the Cord
Cut 10 x 2.5m lengths of cord and 2 x 2m lengths of cord.
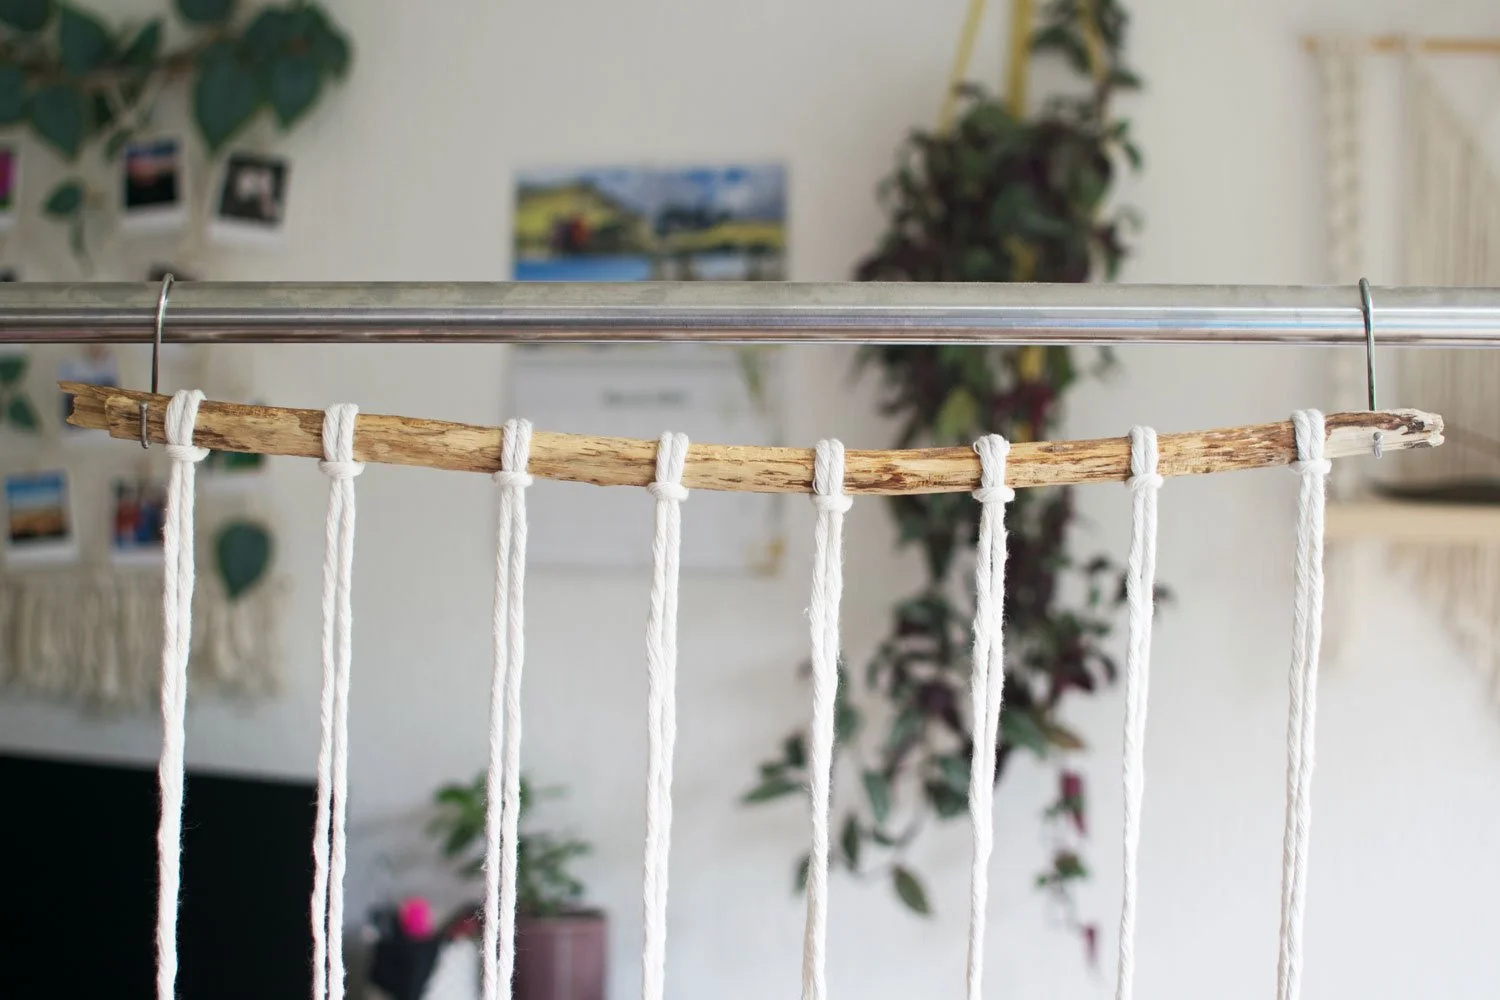
With your 2.5m lengths, fold it in half and with the looped end fold it over the stick and pull the rest of the cord through the loop. This is called a lark’s head knot.
Repeat this knot 7 times using the same length of cord. Leave a 6cm gap (approx.) between each length, including a similar size gap on both ends of the stick.
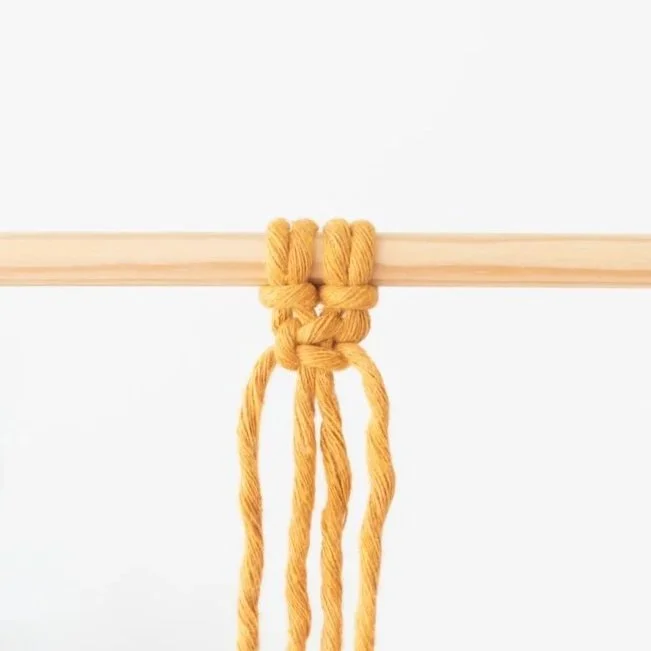
Step 2 - Make the Square Knots
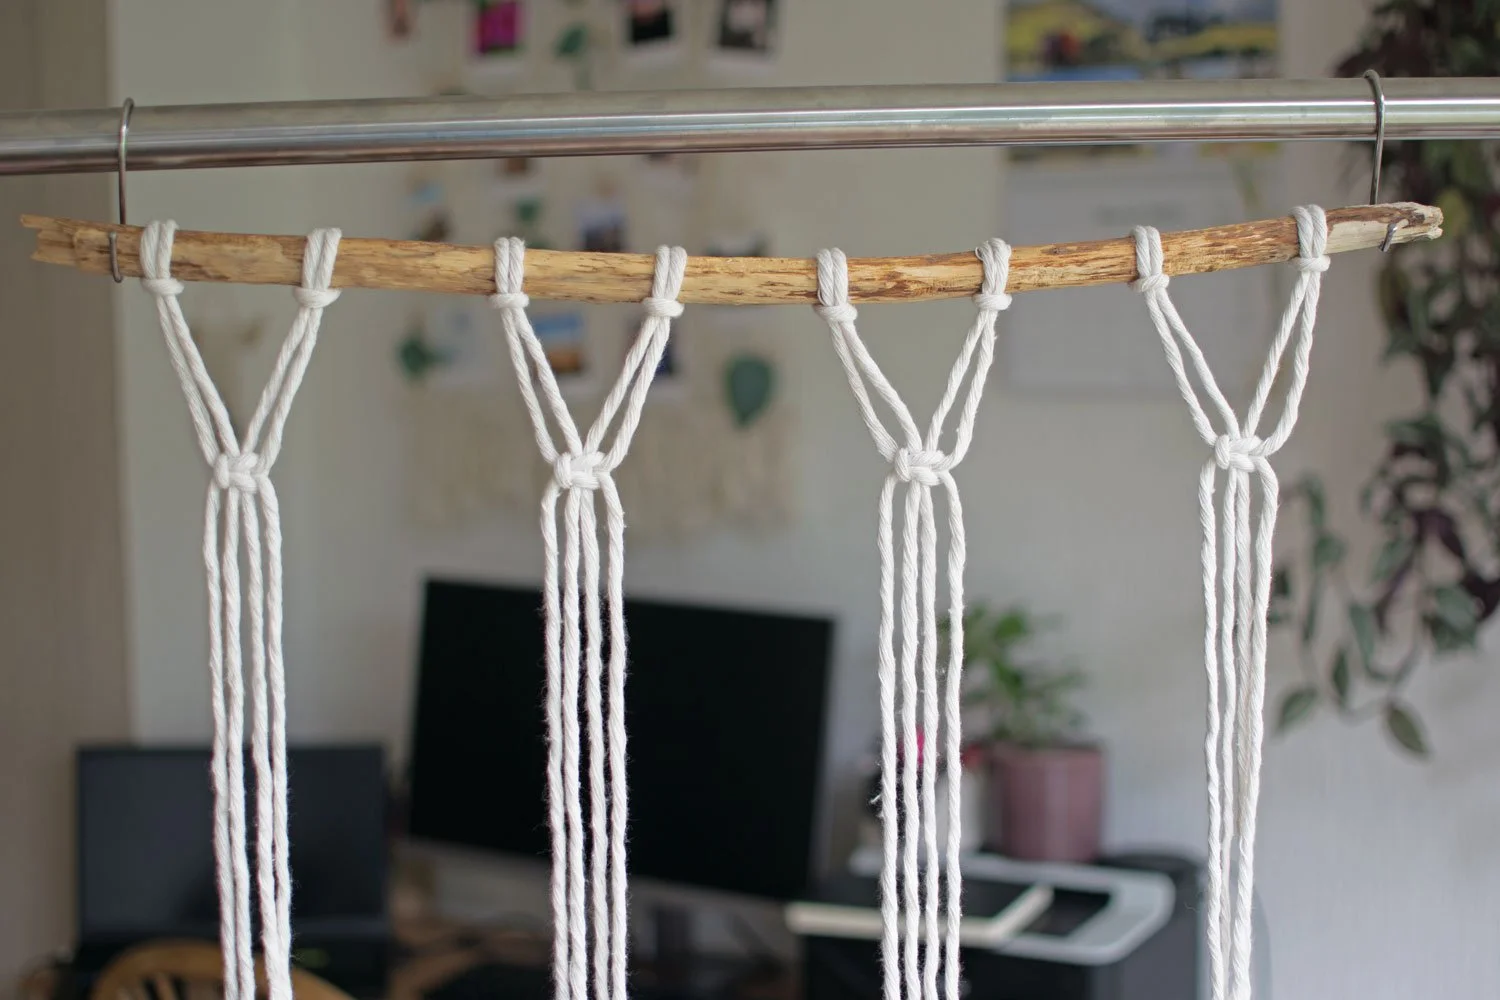
You now have 8 lengths of cord pairs which you need to tie together.
Starting about 8cm down from the hanger bring two lengths together. This will give you 4 cords to work with - 2 inner and 2 outer cords.
Form an ‘L’ shape using the left outer cord that goes over the inner cords. Using the right outer cord fold it over the left outer cord, behind the inner cords and through the loop.
Repeat this step but in reverse. So form the ‘L’ shape using the right outer cord instead and continue the step. Pull the cords tight enough to form the square knot.
Then create 3 more square knots to form the first layer. Don’t worry about them being perfectly aligned. Use your eyes to determine if they’re level with one another.
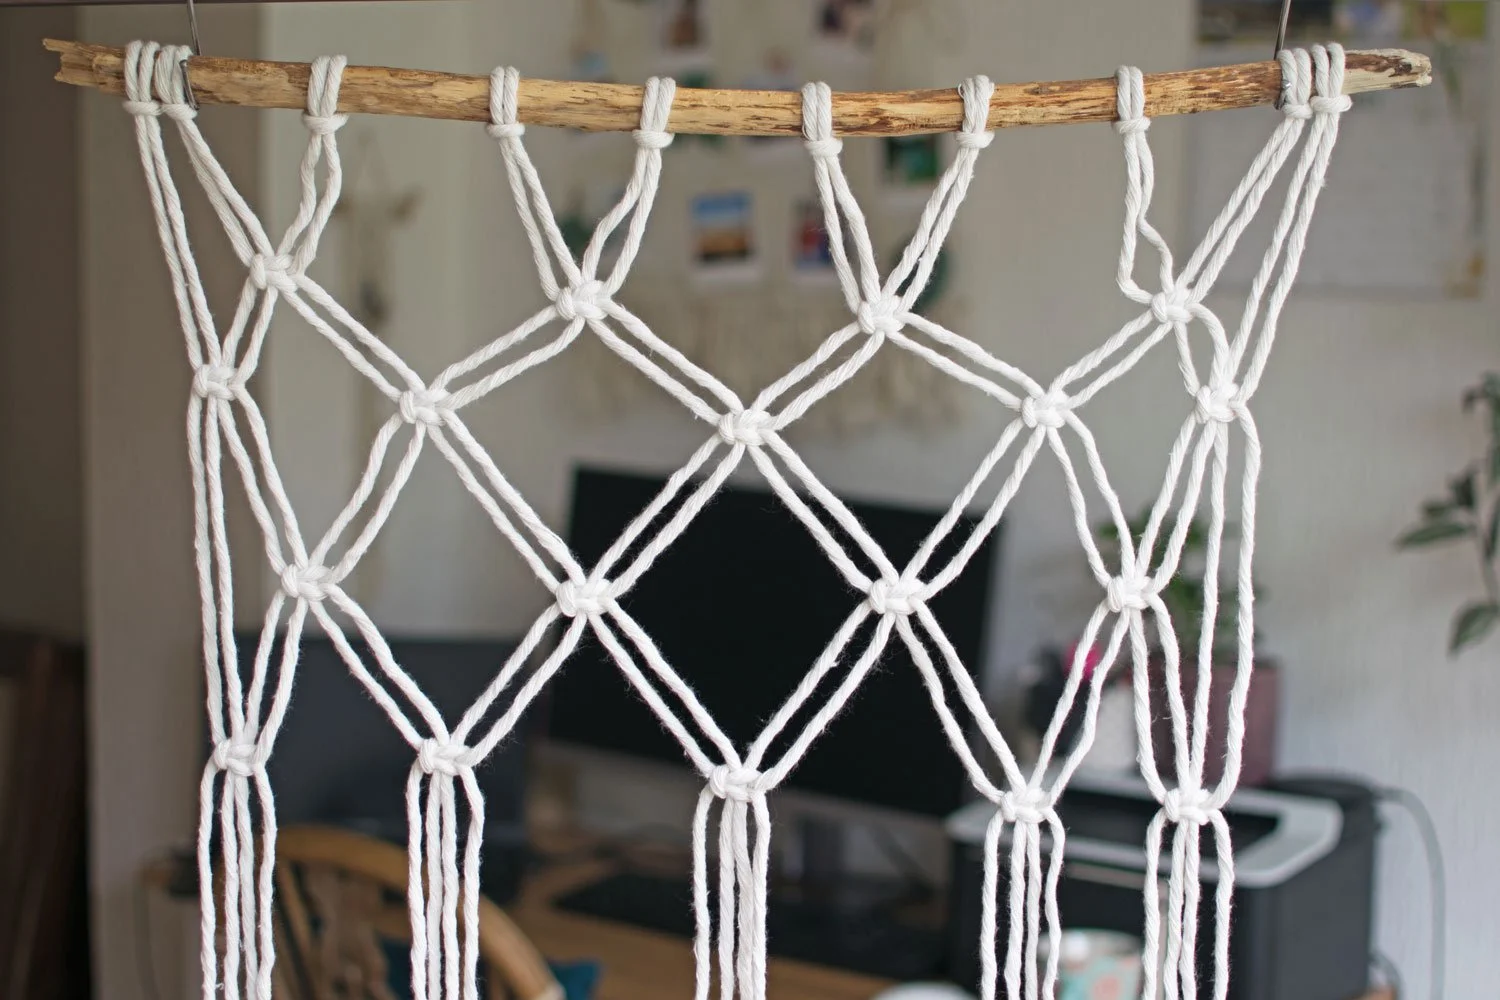
Step 3 - Alternate the Square Knots
You should now have one row of 4 square knots.
To create the next layer, alternate the knots by taking cords from adjacent knots and tying a new row of square knots in between.
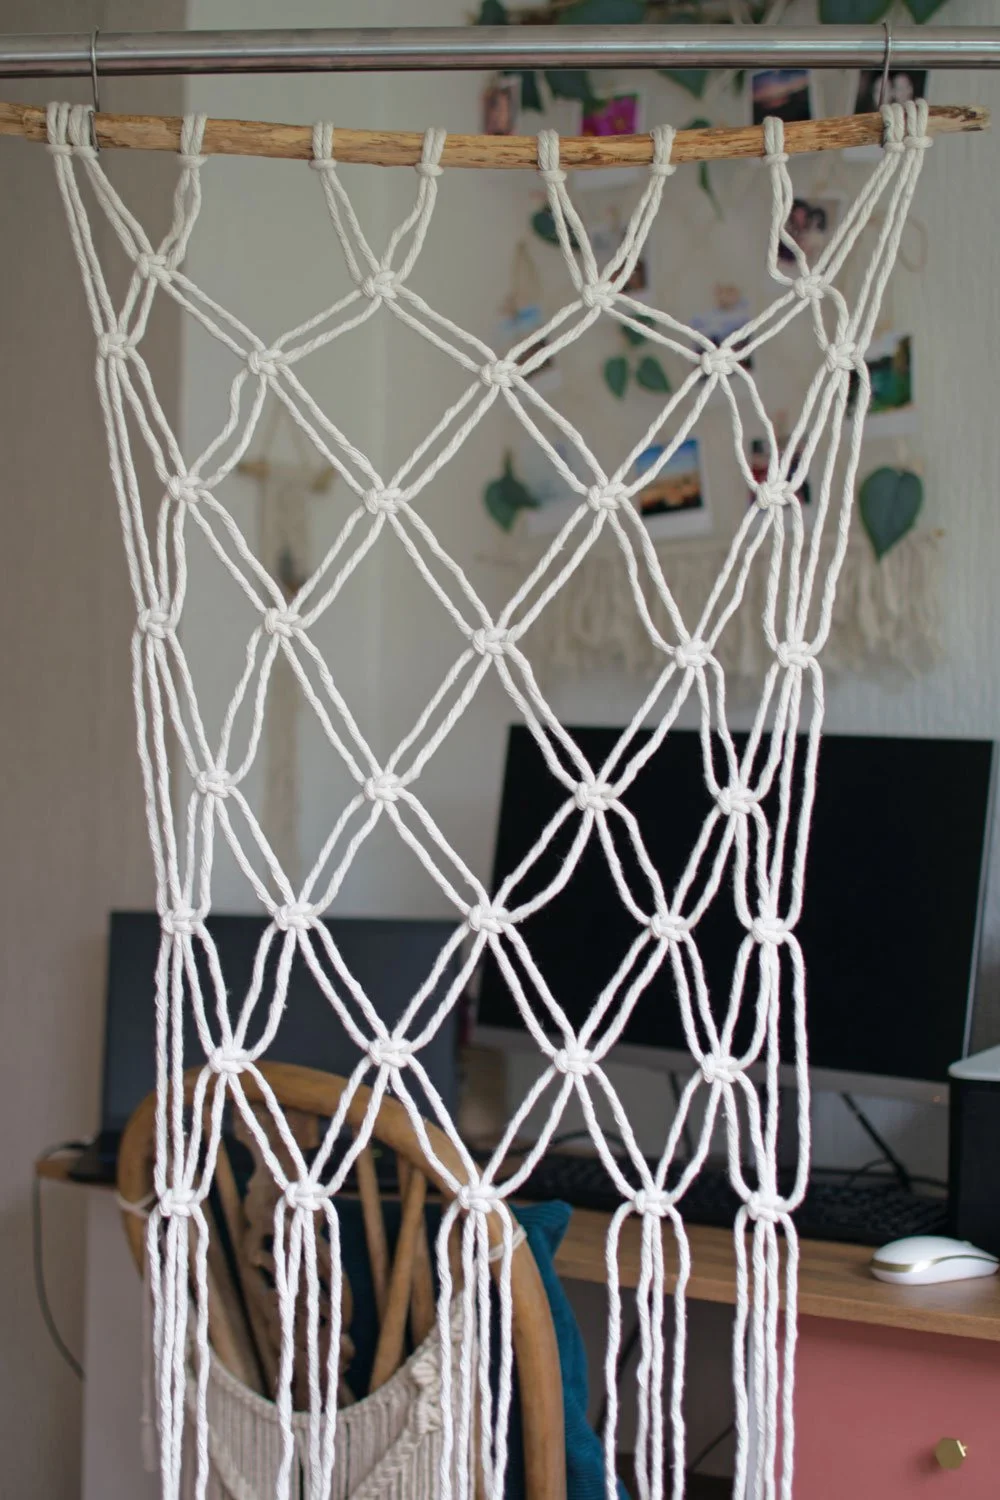
Step 4 - Add the Remaining Cord Lengths
Repeat step 1 using the remaining 2.5m cord lengths to each end of the stick. Then finish off the second layer with square knots using these additional cords.
Continue creating alternating square knots until you’ve created 8 layers.
Repeat step 1 again for the remaining 2m cords and add to each end of the stick.
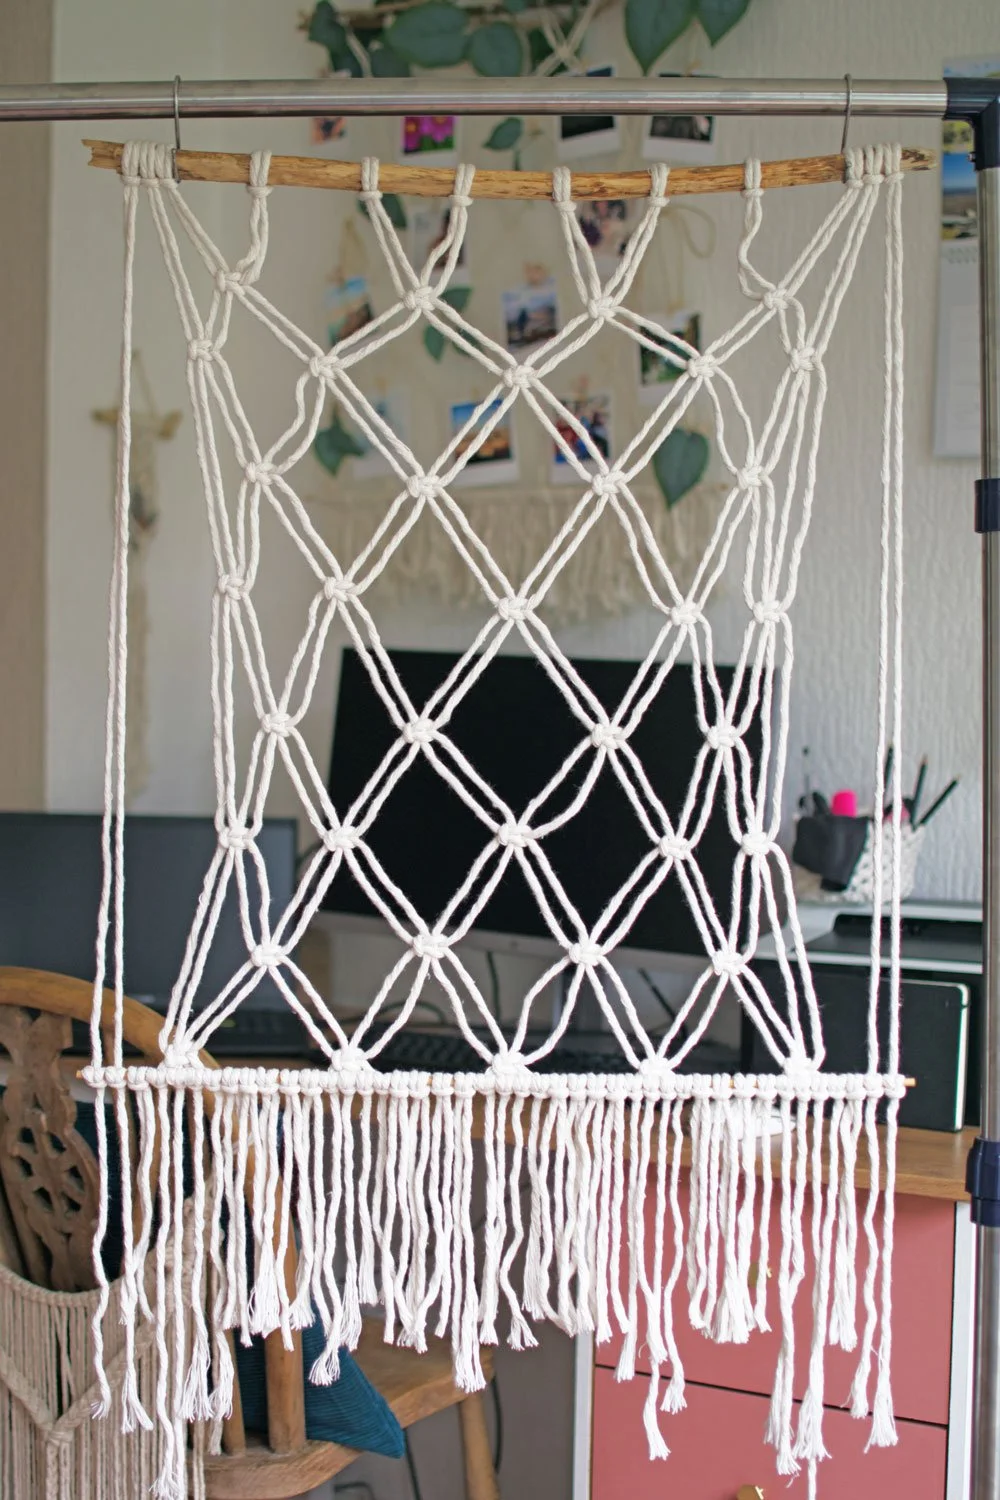
Step 5 - Attach the Second Stick
Position the second stick just underneath the last row of square knots, with the stick sitting in front. This step can feel a little fiddly, so it can help to rest the stick on a surface or secure it in place before attaching it.
You’ll be attaching it using a lark’s head knot, but in a slightly different way.
Take one cord from the square knot above. Bring it forward, over the stick, and through the loop. Gently tighten so it sits neatly just below the square knot.
Then repeat the same movement in reverse - bring the cord behind the stick, over, and through the loop again to secure it in place.
Repeat this process with each cord until the stick is fully attached and evenly secured.
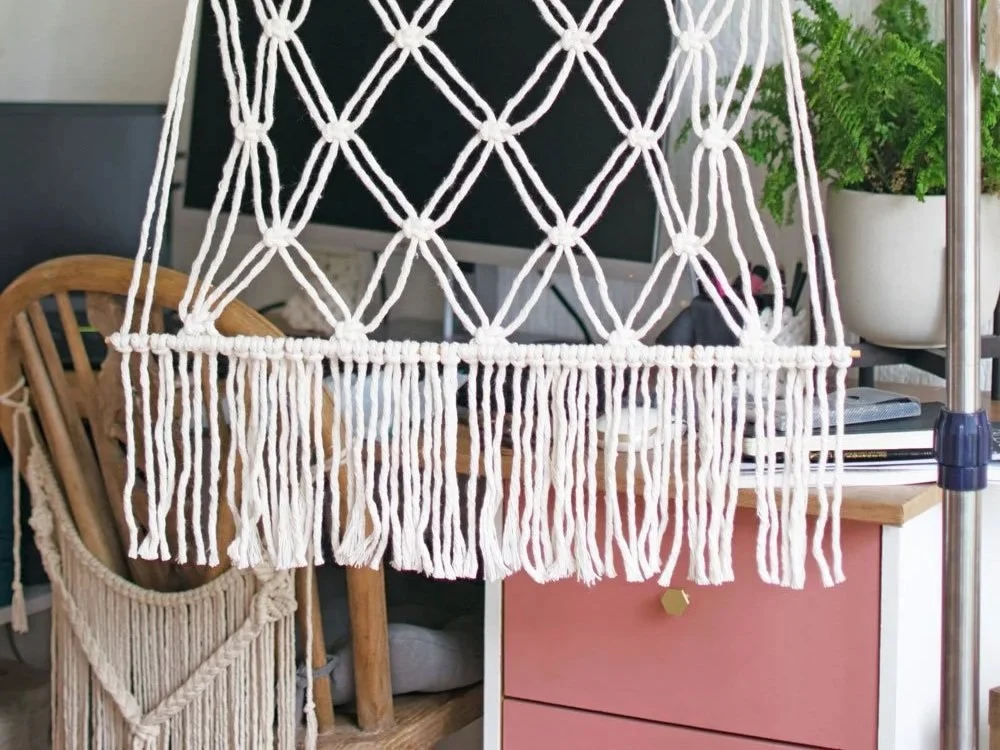
Step 6 - Finish the Bottom Layer
Cut 19 x 0.42m lengths to cover the rest of the stick and complete the tassel bottom layer. Feel free to adjust these measurements/quantities according to the length of your stick.
Attach them to the stick using a lark’s head knot (step 1).
Once they are in position, cut the cord so that they are all the same length.
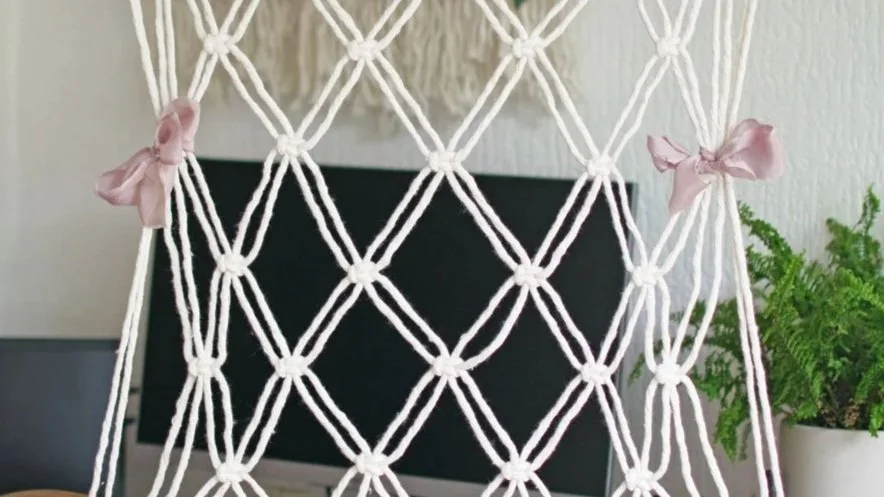
Step 7 - Attach the Ribbon
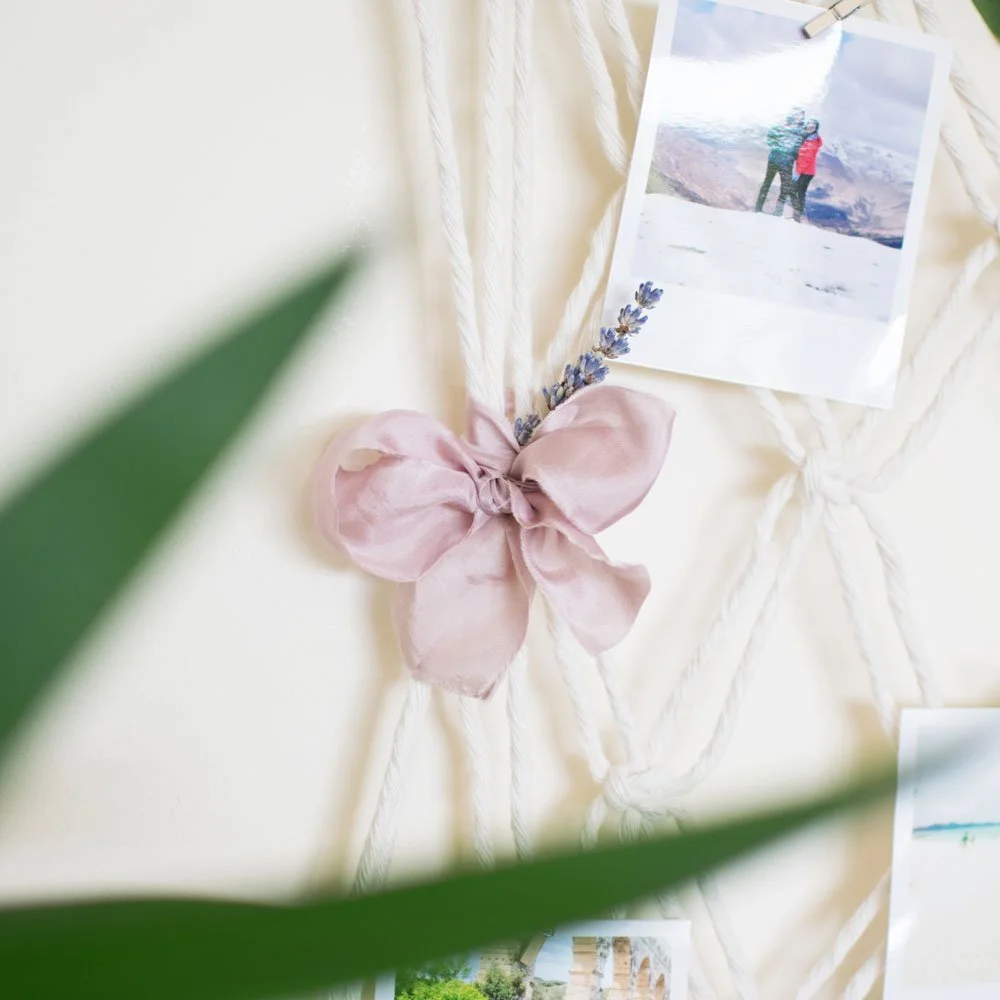
Position the ribbon in the middle of the end cords and tie it around one of the square knots to bring it together.
Tie it into a bow, or leave it as one knot if you desire. Repeat with the other ribbon on the opposite side.
Step 8 - Attach the Greenery
You can either feed it through the hanger cord or cut 1m of cord and wrap it around the stick and tie it in place.
Take your time on this step as it can get quite fiddly too. You may need to reposition to ensure it’s in the right position.
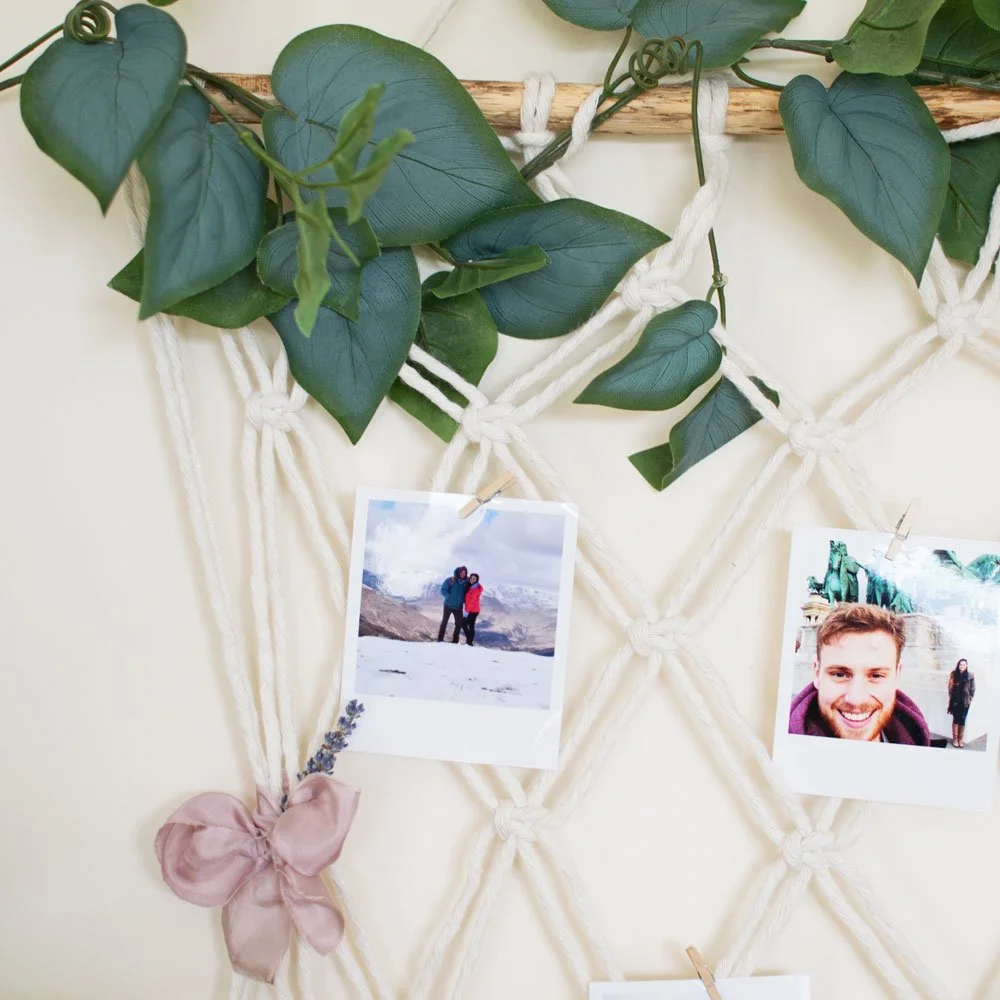
Step 9 - Add your photos
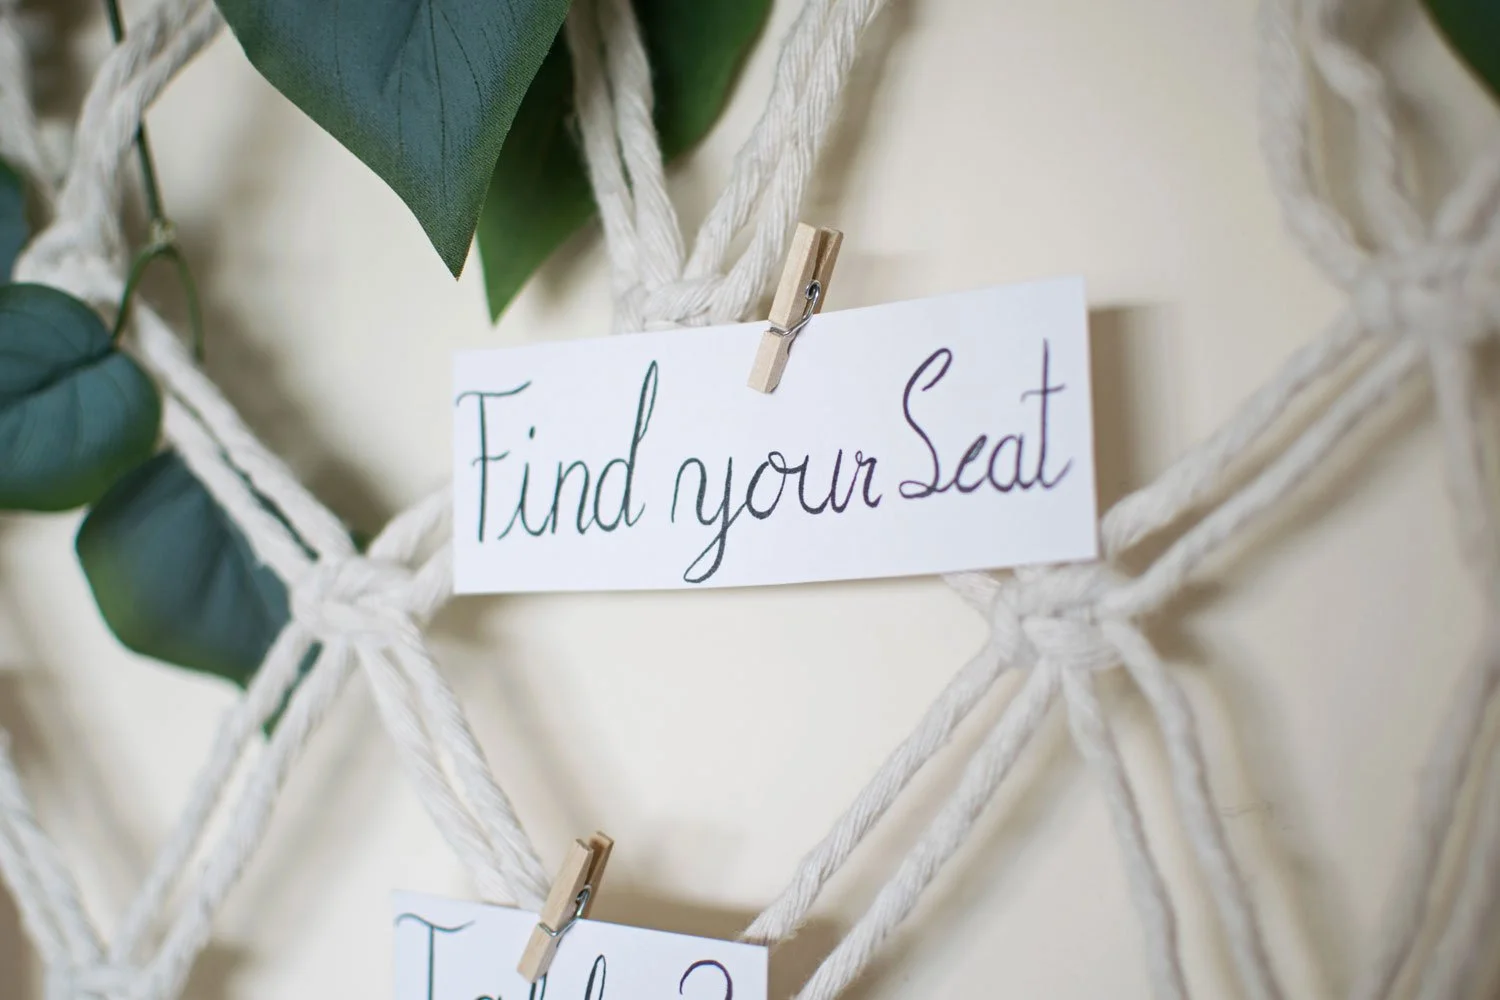
Whichever you choose, seating plan or photos, attach these to the hanger using mini pegs.
Space them out across the hanger. Feel free to finish it off with some dried foliage for extra decorations.


Want to make your own version?
If you enjoyed this project and want to keep creating, I’ve put together a free macrame cord calculator to help you plan your future designs with ease.
Don’t have the materials?
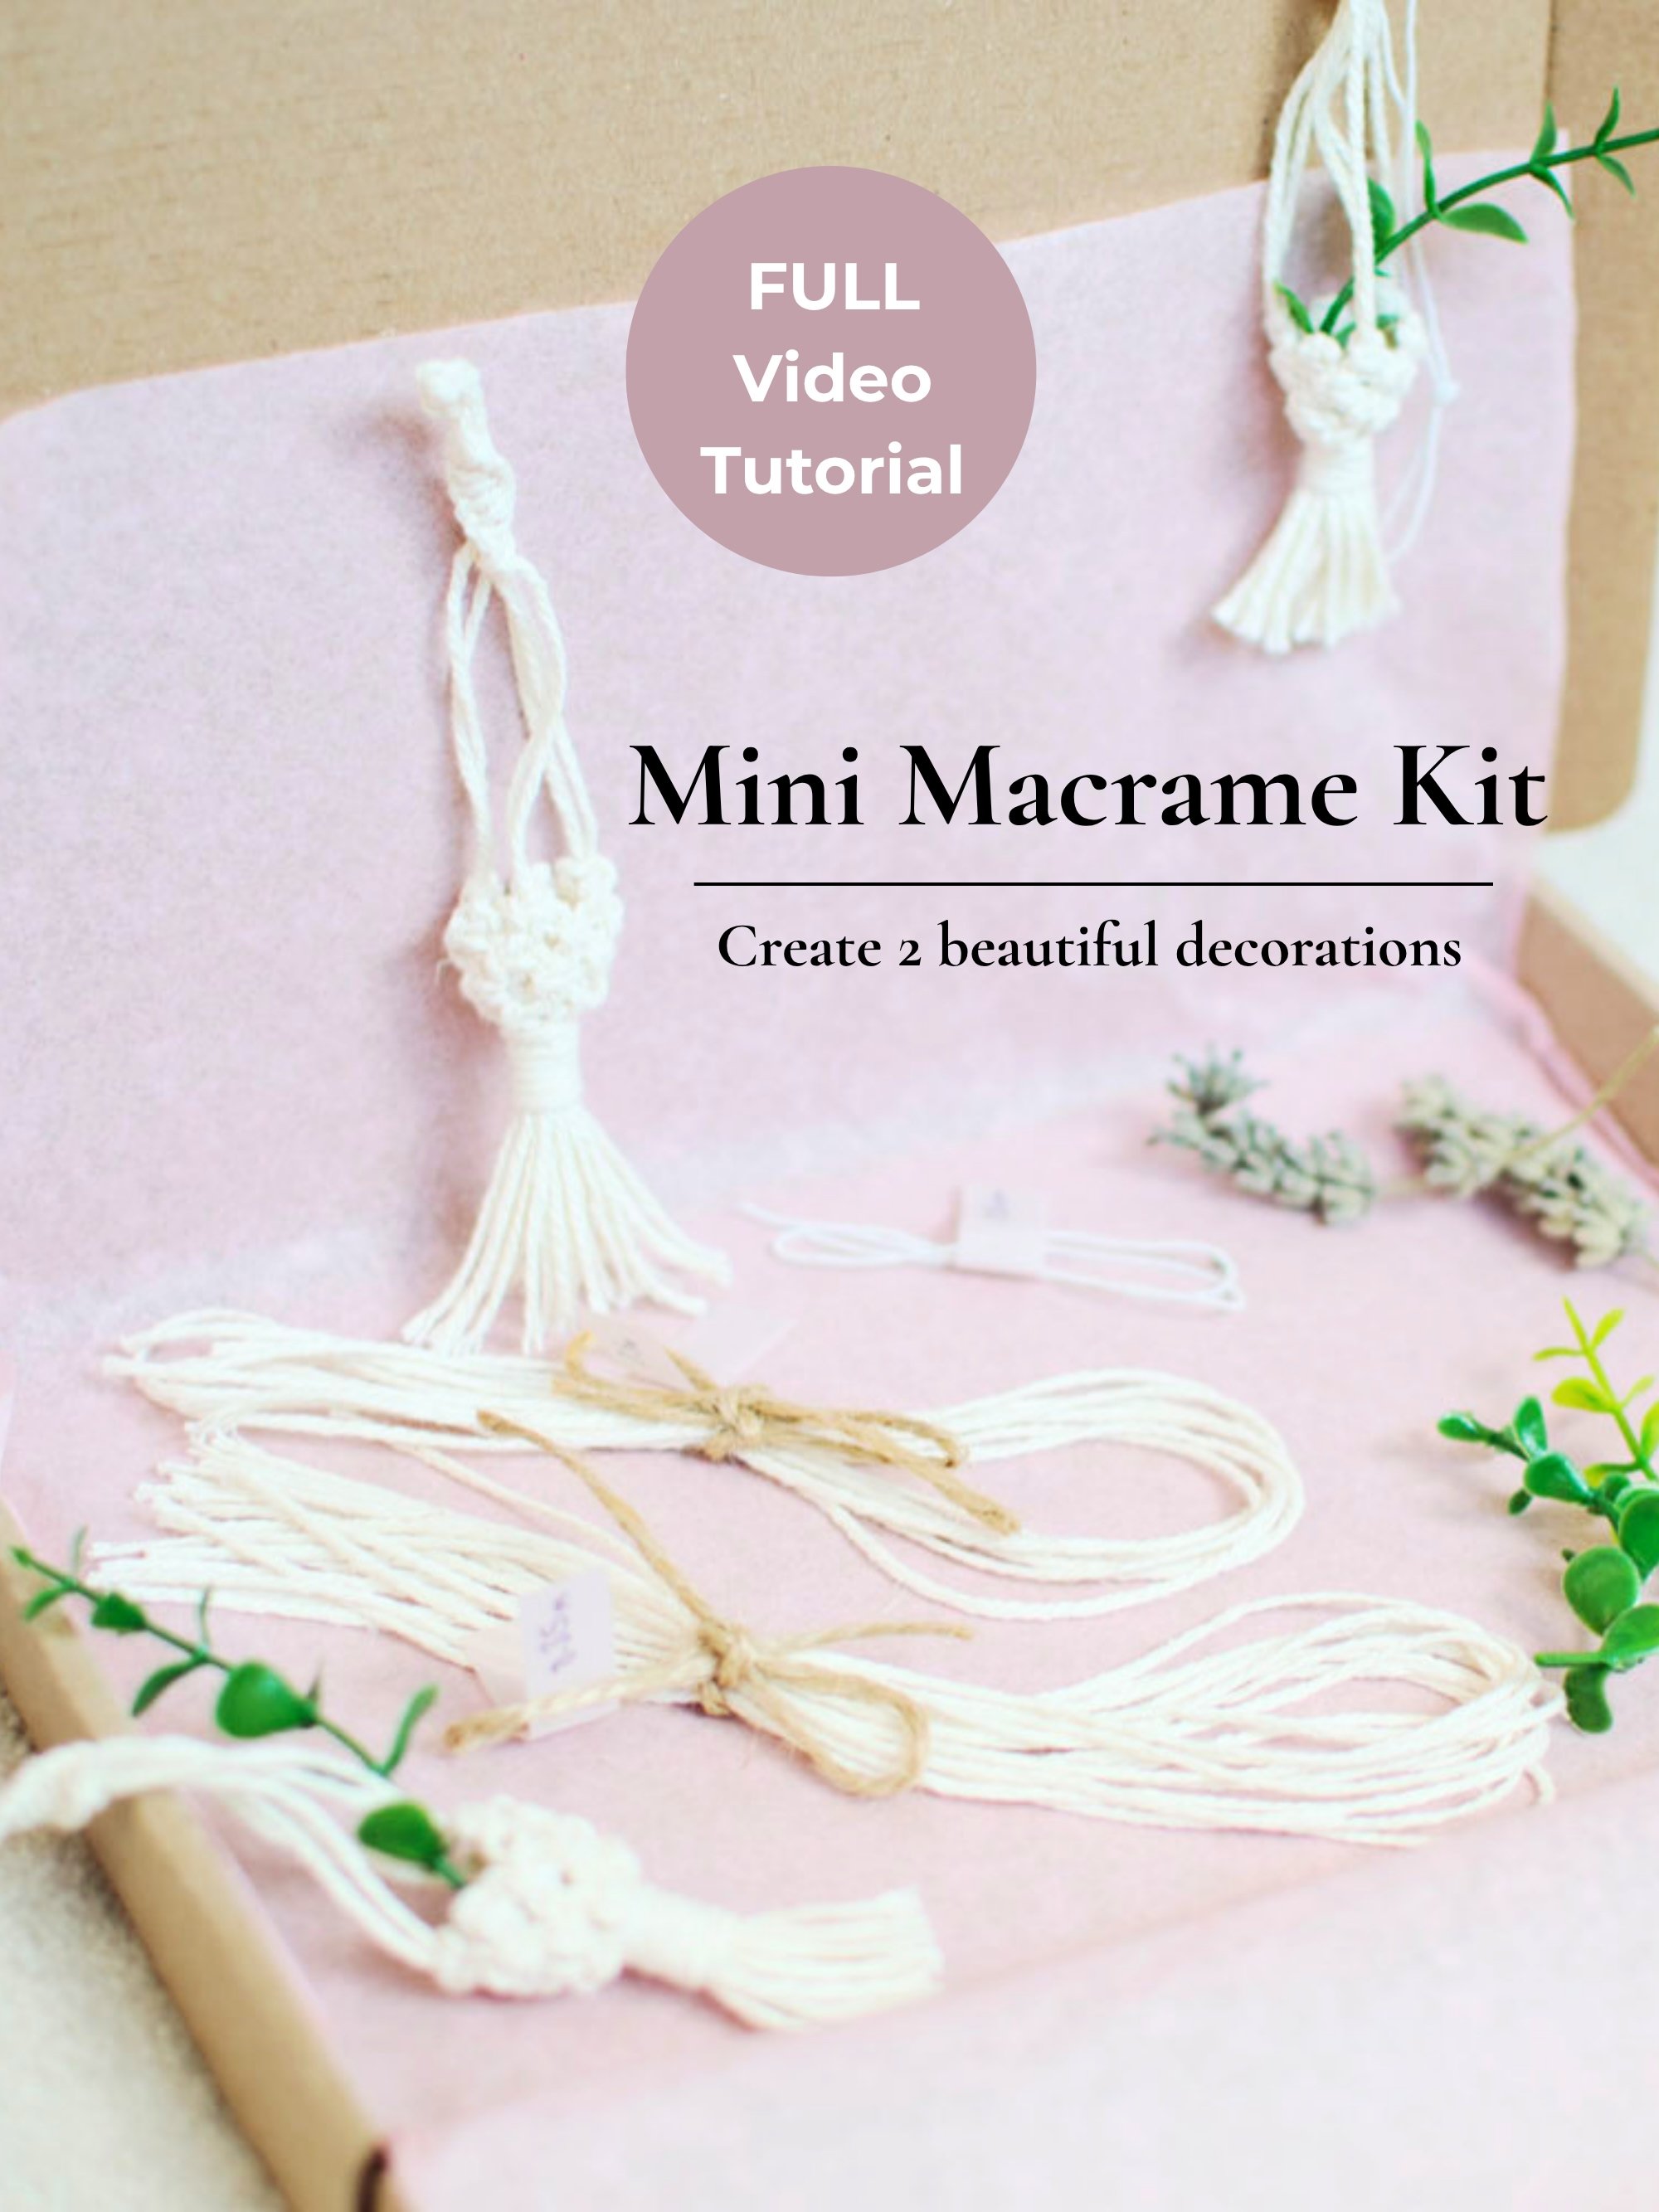
If you’d rather skip sourcing everything yourself, you can start with one of my DIY kits . They’re designed to make the process simple and enjoyable from start to finish.


Or need more inspiration?
If you enjoyed this, you might also like exploring more macrame patterns and tutorials to build on your skills.